In preparation for the summer outdoor cooking season, I’ve compiled all of my grilling and marinating know-how below. This post is organized as follows:
Marinating 101 Grilling Gear Charcoal Grilling 101 9 Favorite Recipes for the Grill
Please add any grilling wisdom in the comments.
Marinating 101
Marinade info mostly sourced from J. Kenji Lopez-Alt’s The Food Lab.
What Ingredients Should Be In A Marinade?
Oil Acid Salt or Salty Liquid Aromatics, optional
Why Oil?
It emulsifies a marinade, making it tackier, which allows it to more effectively stick to the meat. Ingredients such as onions, garlic, and many spices are oil soluble, meaning their flavors release/disperse best when mixed with oil. Oil helps the meat cook evenly, providing a buffer between the heat of the grill and the surface of the meat.
Why Acid?
Acid is a tenderizer. Note, however, excessive acid can “cook” meat and cause it to firm up/turn chalky. When using acid in a marinade, use no more than equal parts acid and oil and limit exposure time to under 10 hours to prevent meat from turning chalky.
Why Salt or Salty Liquid?
The muscle protein myosin will dissolve in a salty liquid, leaving the meat with a looser texture and a better ability to retain moisture. Soy sauce and Worcestershire sauce, moreover, contain protease, an enzyme that breaks down proteins.
Why Aromatics?
Aromatics such as garlic, ginger, shallots, scallions, dried spices, herbs, and chilies are mostly for seasoning the surfaces of meat, but they still will provide significant flavor.
How & For How Long to Marinate?
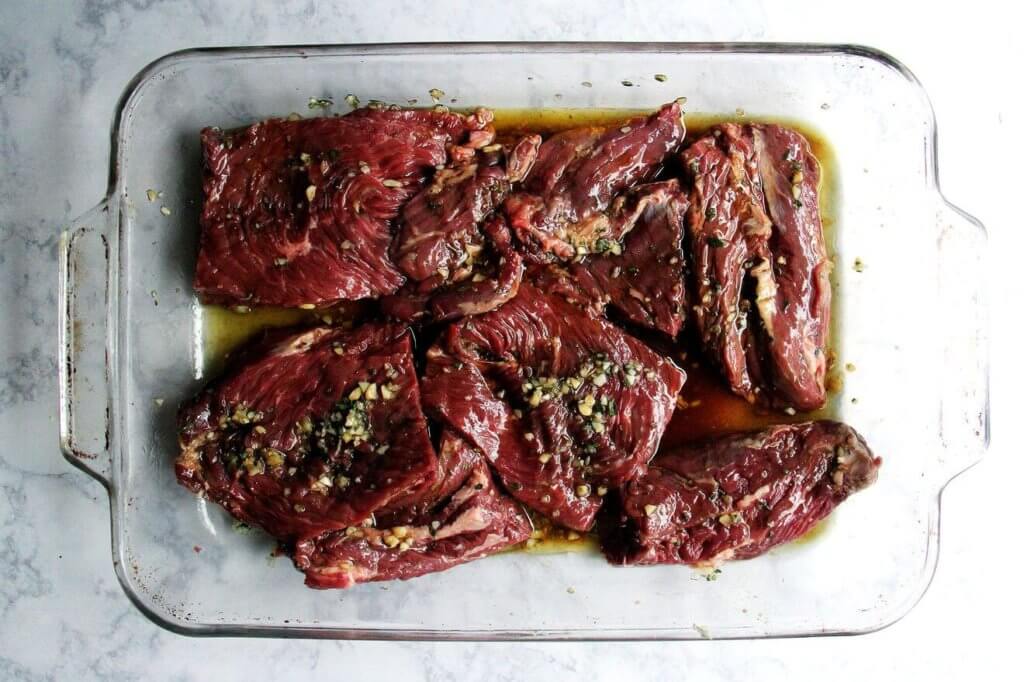
A ziplock bag with the air squeezed out, which maximizes contact between meat and marinade, is a great tool for marinating, but any vessel you have that will fit the meat snuggly will work. I like using glass bowls or baking dishes, too. Marinades do not penetrate very far—no more than a millimeter or two—into meat even over the course of many hours. So, a marinade’s effect is largely limited to the surface of the meat. Time-wise, shoot to marinate for at least 1 hour and up to 12 hours. More than 12 hours will cause the meat to get a bit too mushy and chalky around the edges, having a slightly cooked appearance.
Gear For Charcoal Grilling
Charcoal Grill
I own this charcoal Weber, which is a very basic model, but it’s a nice size, and it does the job for the kind of grilling I like to do.
Chimney Starters
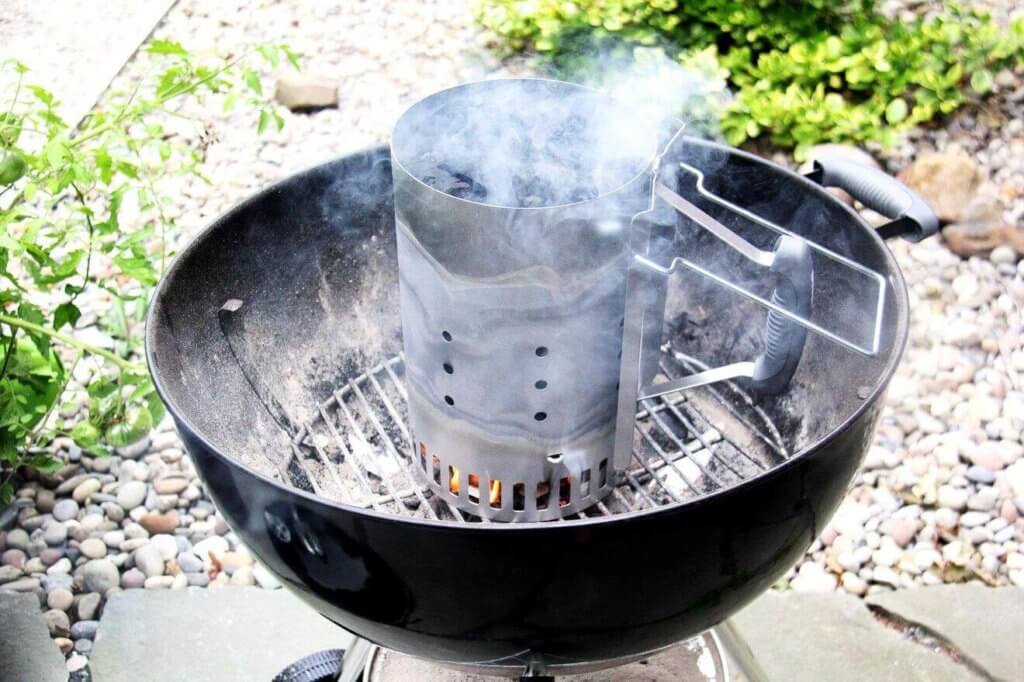
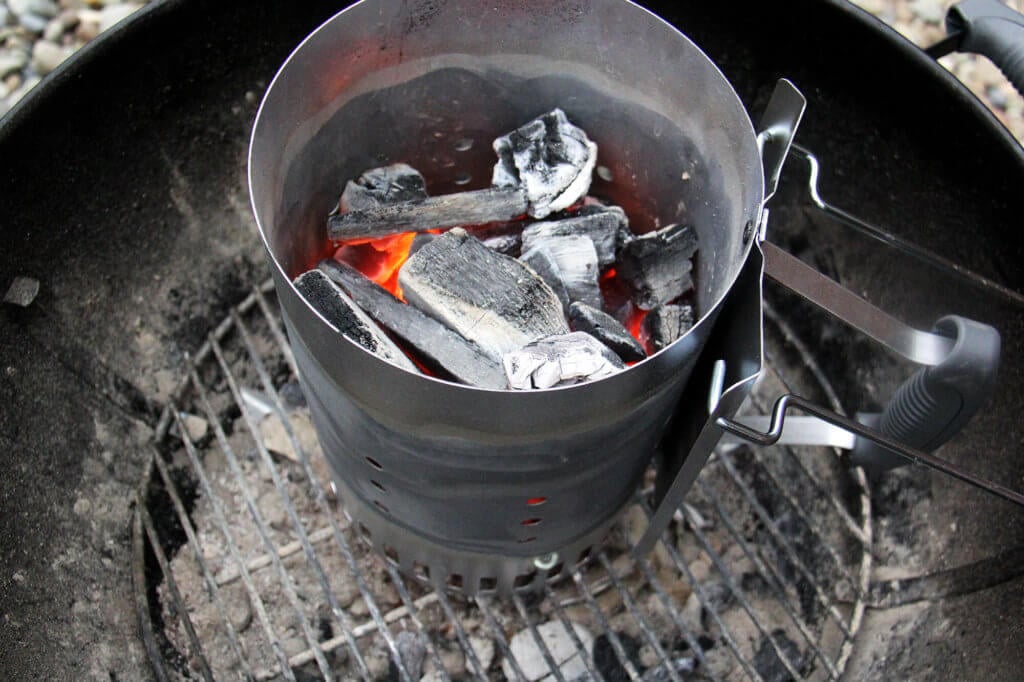
Chimney starters remove the hassle from lighting coals. I suggest investing in a pair of chimney starters. I use 1 full sheet of newspaper per starter. The chimneys look large, but after 30 minutes of heating, the coals burning inside of them shrink, and even for a small amount of food, one chimney-full of coals is rarely enough. When the coals have turned white, dump them into the grill, replace the grate, and let the grate heat for at least five minutes before grilling — the hotter the grates, the lower the chances the food will stick.
Charcoal
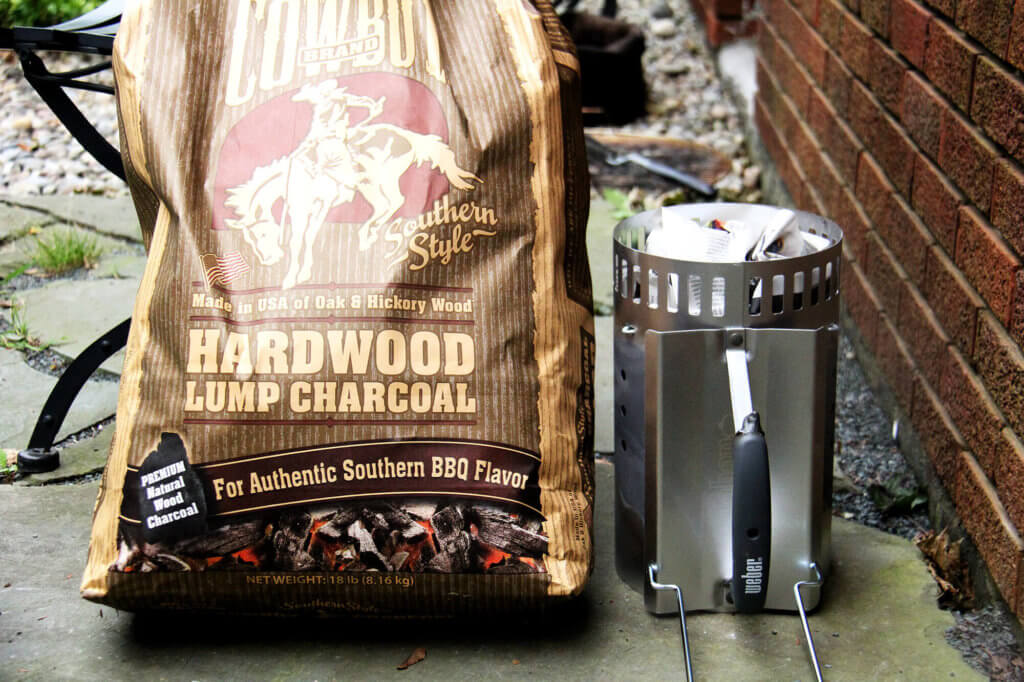
Look for Hardwood Lump Charcoal. I like the Cowboy brand (pictured above) — I buy it at Lowe’s. When you buy “hardwood lump charcoal” you know you’re buying real wood: chunks of charred hardwood. Charcoal briquettes also are made of wood, but also a number of other things. I grew up using Kingston; it’s fine; if I can’t make it to Lowe’s, I don’t hesitate to use it.
Tongs, Lighter, Brush, Gloves
Tongs: A pair of long tongs allows you to keep your hands at a distance from the hot coals. Lighter: Bic lighters are nice to have on hand for lighting chimney starters. Brush: Be careful with grill brushes as the bristles can get stuck on the grill and, in turn, in your food. An alternative is to ball up a sheet of aluminum foil and use tongs to rub the foil ball against the grates. Gloves: Protect your arms with heat-resistant gloves.
Instant Read Thermometer
Thermapen, optional. The Thermapen has been a welcomed addition to my toolbox, the pal standing by my side all summer long (winter, too!), ensuring me over and over again: The meat is done. Take it off the grill.
Charcoal Grilling 101
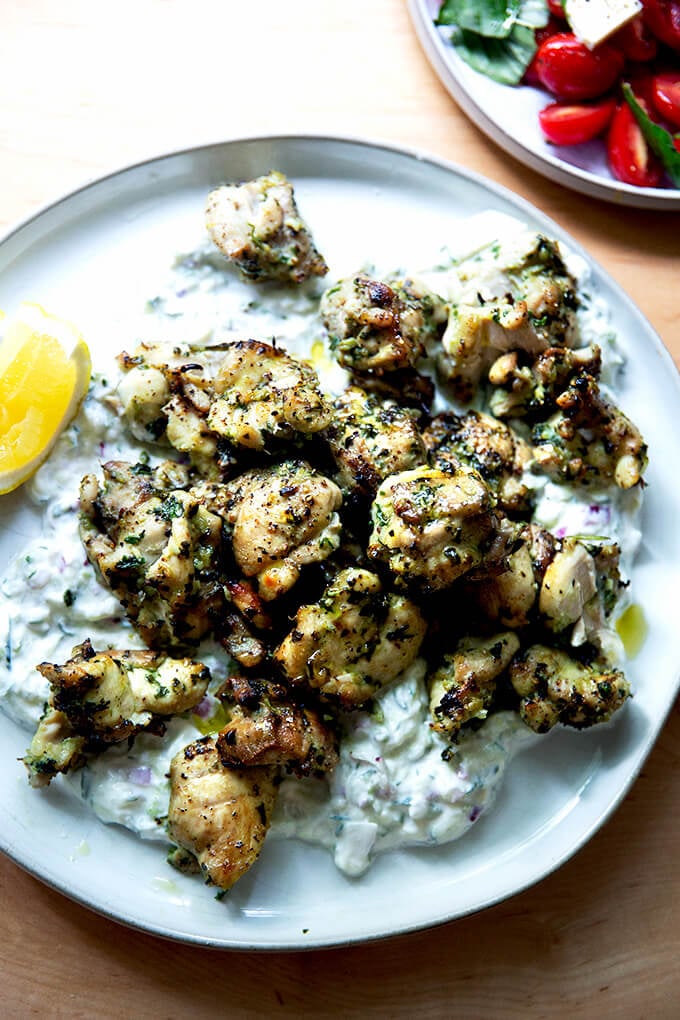
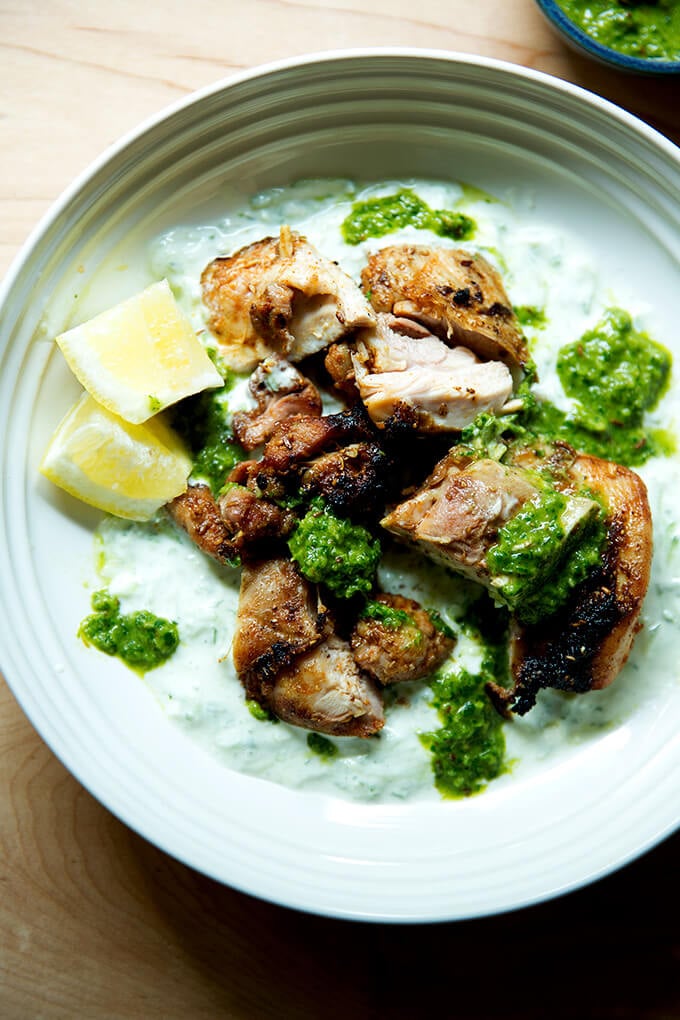
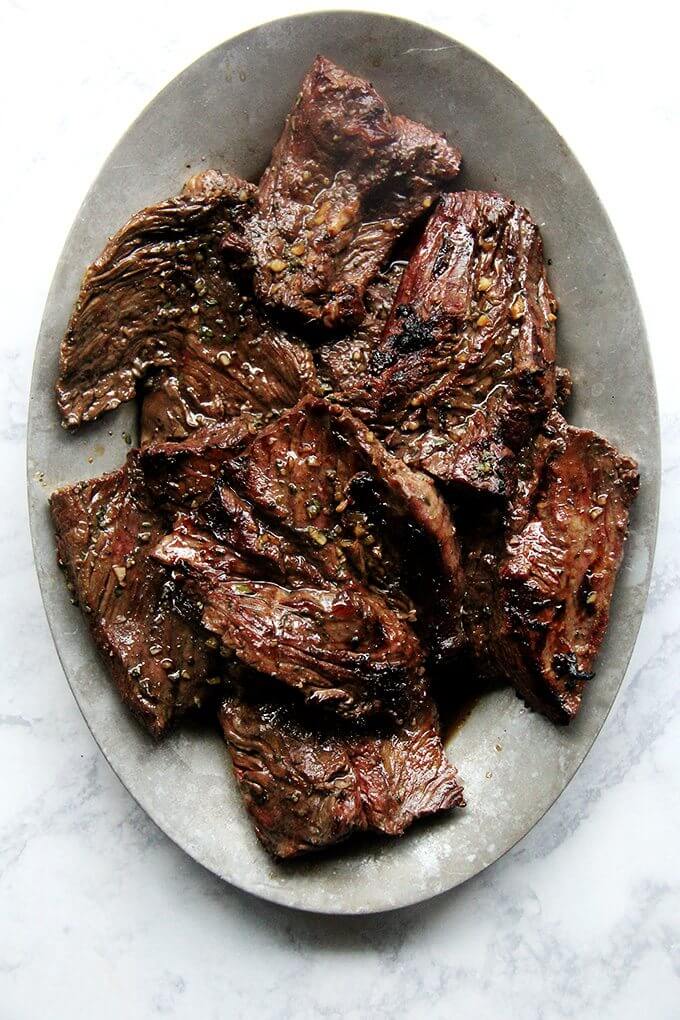
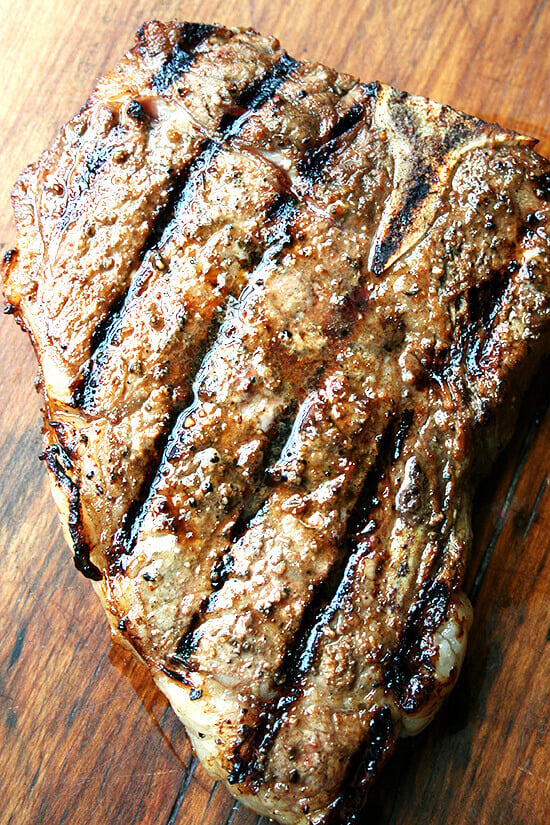
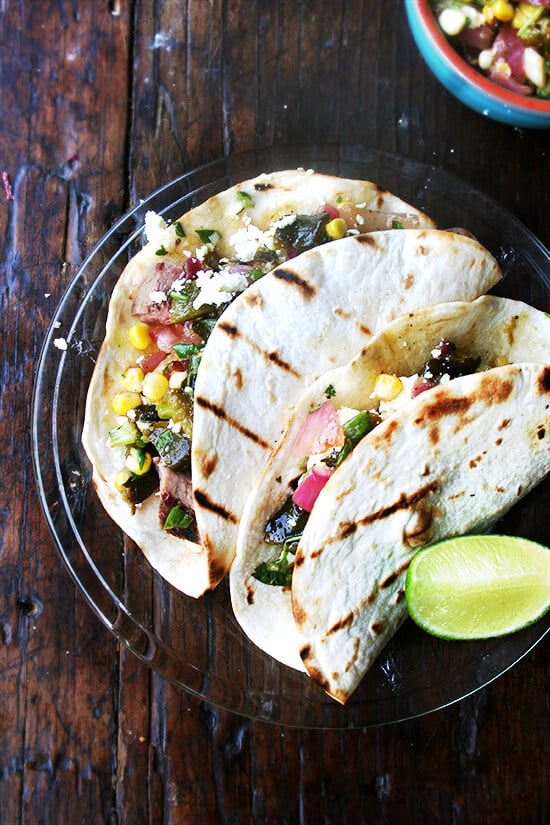
Note: Remember, this is a minimalist guide to grilling, with tips for cooking cuts of meat and fish that cook quickly such as chicken thighs, cedar planks topped with salmon, whole fish, and thin cuts of beef like skirt or hanger.
Meat Grilling
This is the simple method I employ when grilling meat: chicken, pork, beef, etc.
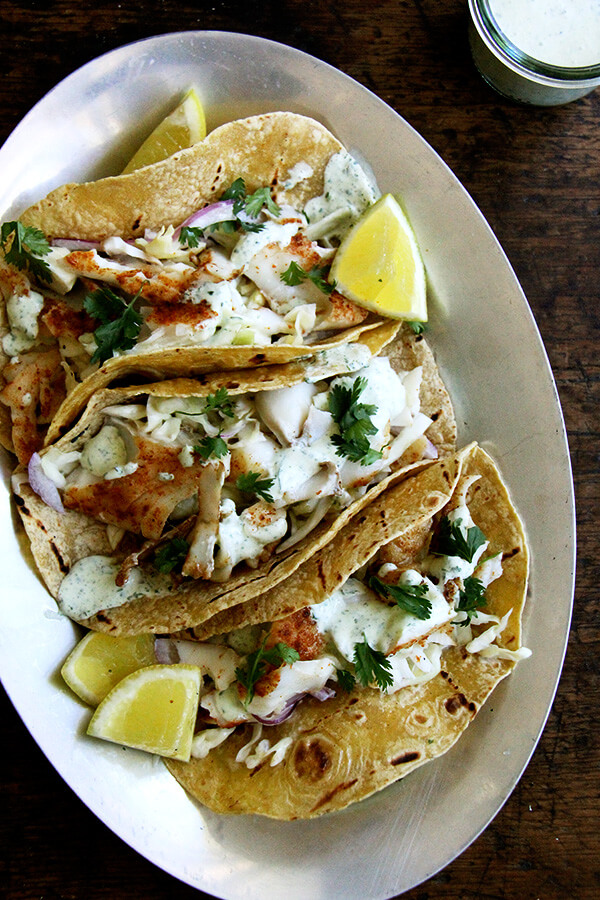
Fish Grilling
For fish grilling, different rules apply. For salmon and other fatty fish, I may marinate it briefly (20 minutes to an hour). For a whole fish, I won’t marinate it at all. For flaky white fish, I’ll rarely marinate it, but I may rub it lightly with some spices.
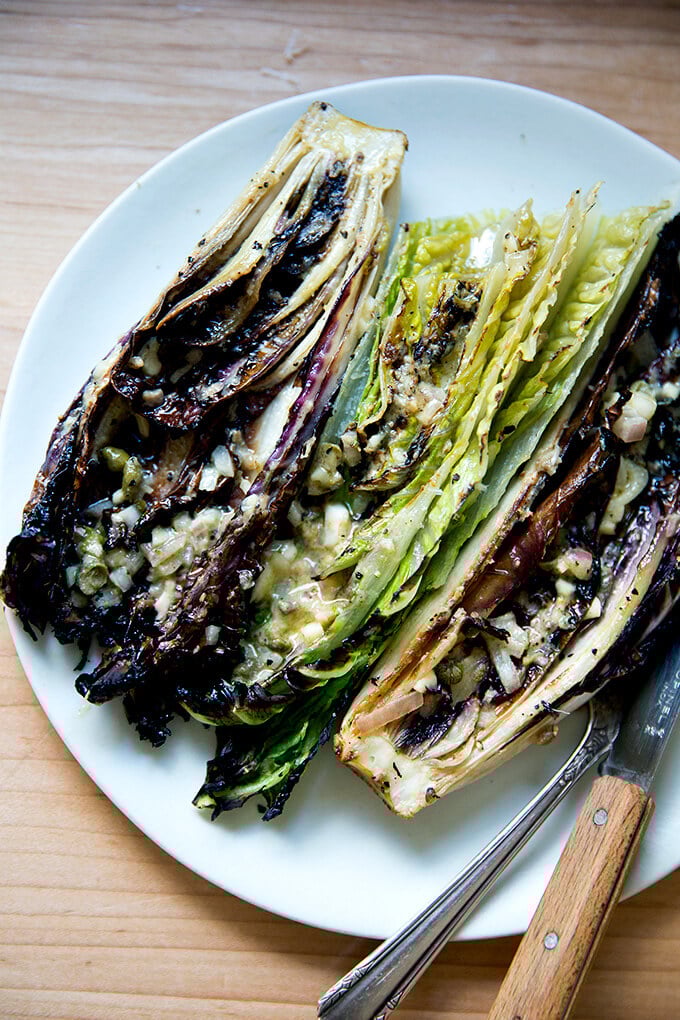
Vegetable Grilling
I am partial to dry-grilling, which calls for grilling vegetables without oil or any seasoning; then dressing them with oil and other seasonings post grilling. I find this technique prevents the vegetables from becoming oil-laden and soggy as well as from taking on an acrid, burnt-oil flavor.
On the Grill