Nearly every week I am asked if I have a tutorial on how to make a sourdough starter, to which I always answer No and then suggest: Save yourself the trouble: buy it! The truth is that until a few months ago, I never found the exercise of building a sourdough starter from scratch to be worth the effort. Invariably the process would take over two weeks, during which I would waste lots of flour not to mention time. Knowing how little it costs to buy a strong, ready-to-go starter online, I didn’t dare encourage such an undertaking. Earlier this year, however, I came across a passage in Peter Reinhart’s Perfect Pan Pizza, which outlined his tried-and-true method for making a sourdough starter, one he’s shared in several of his other books as well. Peter’s method calls for starting with pineapple juice as opposed to water because “the acidity in the juice helps shorten the time to get the process started.” I very much liked the sound of this. Let’s back up: a sourdough starter is a fermented mix of flour and water containing wild yeast and bacteria. It both leavens and flavors sourdough bread. Curious to learn more, I searched the web, where I discovered the use of pineapple juice for sourdough starters is quite common. Why? In sum, because wild yeast cells prefer a somewhat acidic pH (which pineapple juice is) in which to grow. But also, as Deborah Wink writes on The Fresh Loaf, pineapple juice “insures against unwanted bacteria and the problems they leave in their wake.” Read about this in much more depth here. At the beginning of August, I tried Peter’s method using all-purpose flour and was shocked to see activity — bubbles and rising — in just four days. Moreover, his process was so simple: mix together flour and pineapple juice, let it sit for two days, add flour and water on the 3rd day, add more flour and water on the 4th day. A few weeks later, while talking with my friend Christy Alia, an avid bread and pizza maker (@realcleverfood on Instagram), about my experience, she suggested I try the method with whole wheat flour because the added minerals and nutrients would provide even better food for the microbes (the yeast and bacteria) to thrive. And so a few days later, I followed Peter’s method using freshly milled stone-milled flour from Cairnspring Mills. Friends! Oh my word. On day 4, my starter doubled in volume. While it was not ready to be used in a sourdough bread recipe yet, it was strong and active, and after just a few more feedings, it was ready to go. On day 6, I made a loaf of sourdough focaccia and couldn’t have been more pleased with the light, airy loaf my young starter produced (photos below). Importantly, I made this starter at the height of a heat wave, which no doubt contributed to its success. I successfully repeated the process again last week during another heat wave. I could sum up the tutorial that follows below as such: pineapple juice + freshly milled flour + heat wave = sourdough starter from scratch success. Below I’ve outlined how to make a sourdough starter from scratch, with tips for how to set yourself up for success. Let me know if you have any questions along the way. And if you have any tips of your own to add, please share!
Equipment
For best results, I recommend ensuring you have on hand:
a digital scale — it’s the only way to ensure you are measuring accurately. a straight-sided vessel, which will help you more accurately see how much your starter is growing.
Four Tips for Success
How to Keep Your Starter Cozy (and Happy!)
I can’t emphasize enough the importance of a warm environment for the success of this endeavor. If you are attempting to build your starter when it’s cold outside, here are some suggestions for how to keep it warm:
Find a warm place in your kitchen (like on top of your refrigerator). Try the warm oven trick: turn your oven on for 1 minute (at any temperature) and then turn it off. It likely won’t get above 100ºF — it will just create a cozy spot for your dough to rise. Consider sticking a post-it note to the oven to remind you that you have a starter in there so that you don’t accidentally preheat your oven and kill your starter. (Note: I do not recommend using the oven with the oven light on, because I discovered the hard way that the oven light can actually be too hot and cause your starter or sourdough bread to overferment.) Invest in the Brod and Taylor Sourdough Home: I do not own this, but it gets good reviews should you have the space for it. Build your own “sourdough home”: See comments below, but one of you ingeniously made a homemade proofing box by placing a seed heating pad in a box and covering it with a towel.
How to Build a Sourdough Starter From Scratch, Step by Step
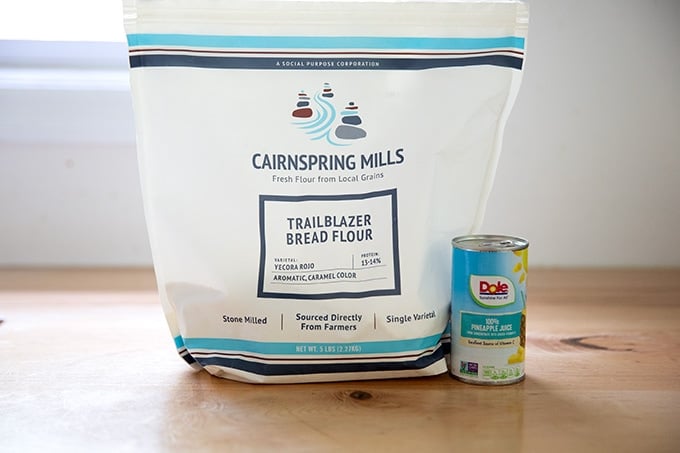
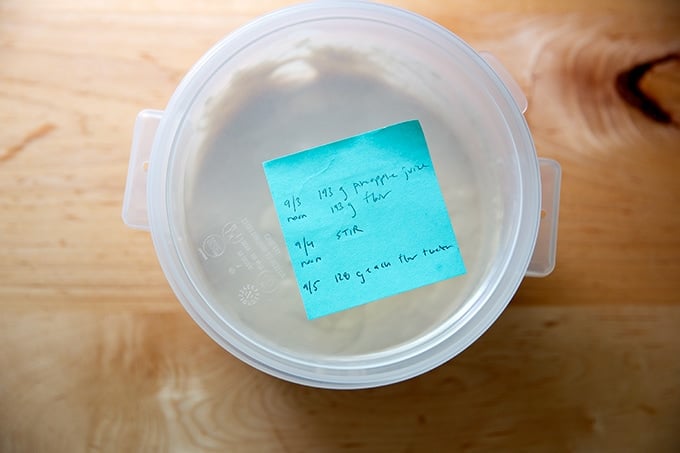
Day 1: Gather your materials: flour and pineapple juice. (If possible, pick up a bag of freshly milled stone-milled flour; see the recipe box for sources.)
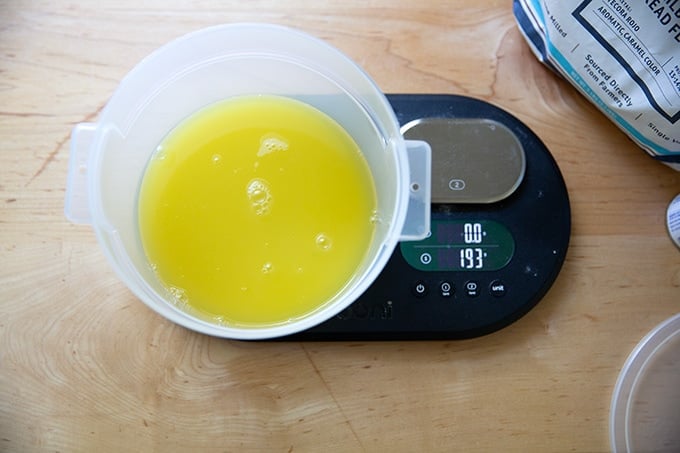
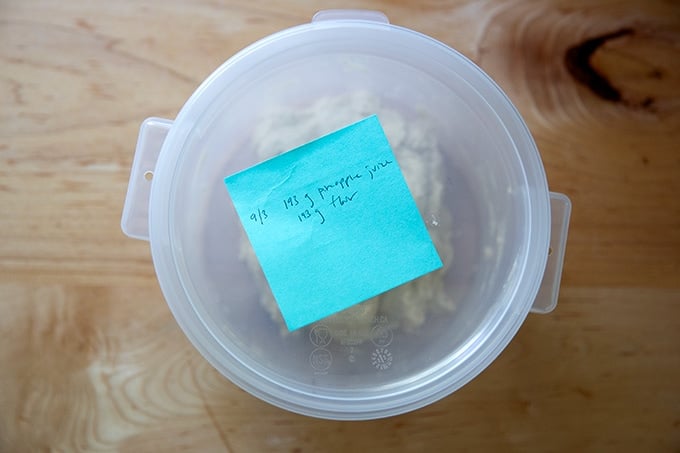
Pour the can of juice into a large bowl or ideally a straight-sided vessel on a tared scale.
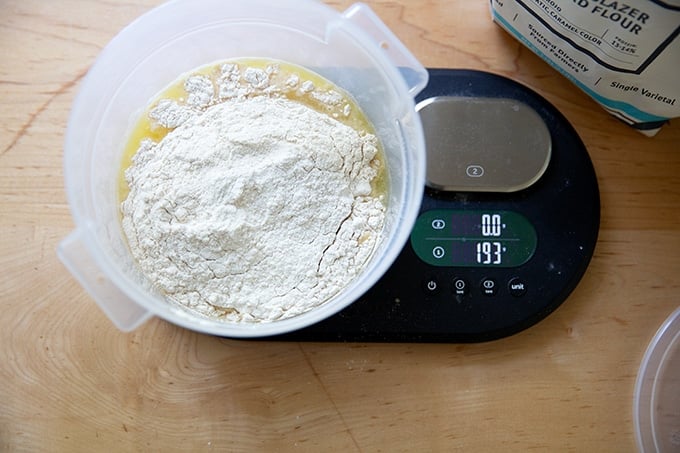
Add an equal amount of flour by weight. It should be about 192-193 grams of juice and flour each.
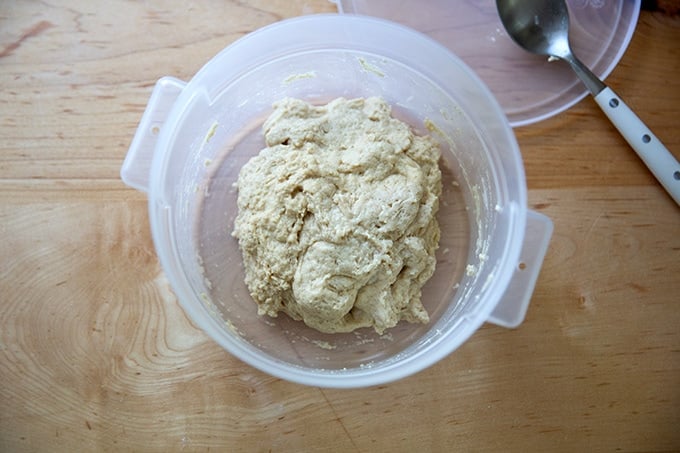
Stir the flour and juice together until the flour is absorbed.
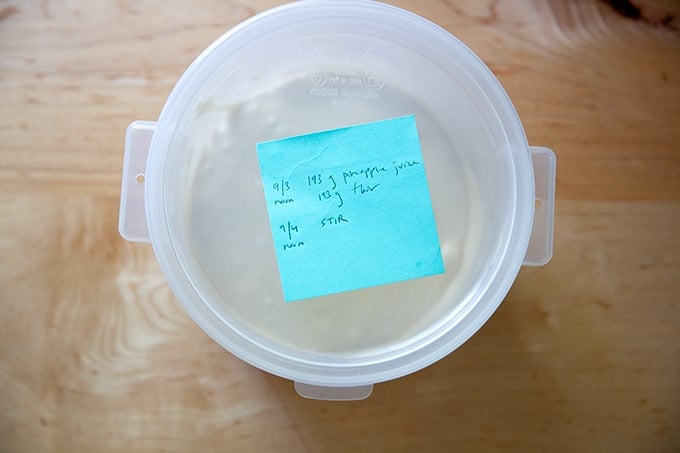
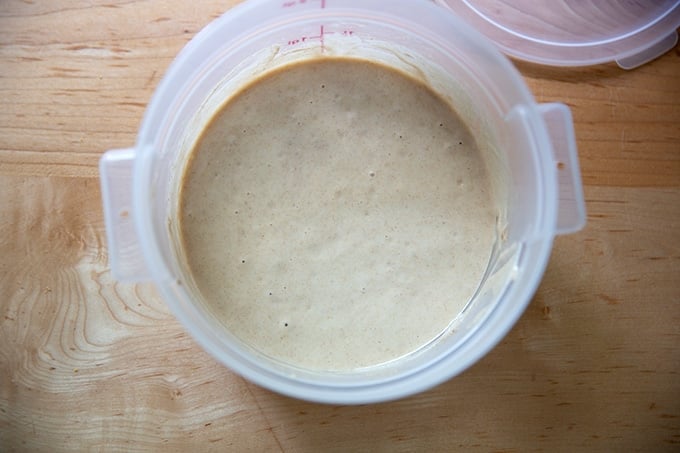
Cover the vessel. Record the date, time, and measurements — you will forget which day you started if you don’t. Let it sit at room temperature for 24 hours.
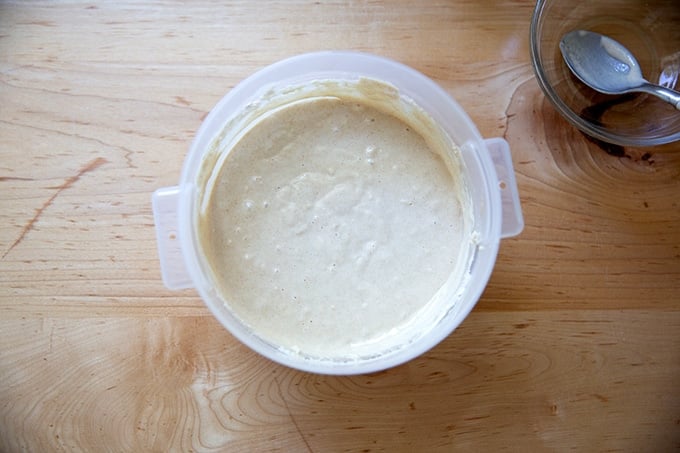
Day 2: Uncover the vessel and…
… give it a stir.
Re-cover the vessel, and record your work. Let it sit at room temperature for another 24 hours.
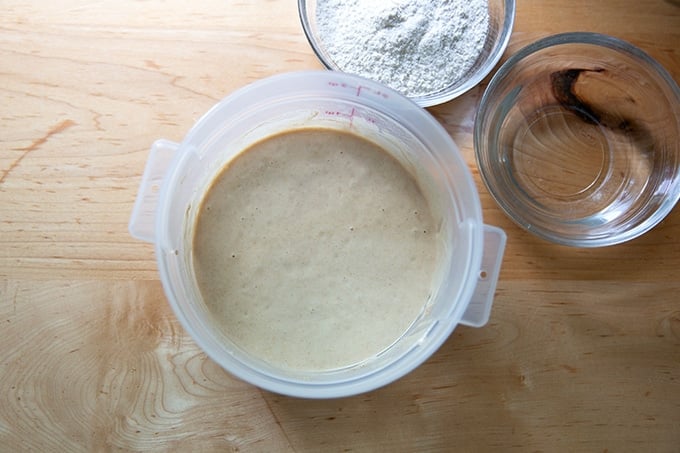
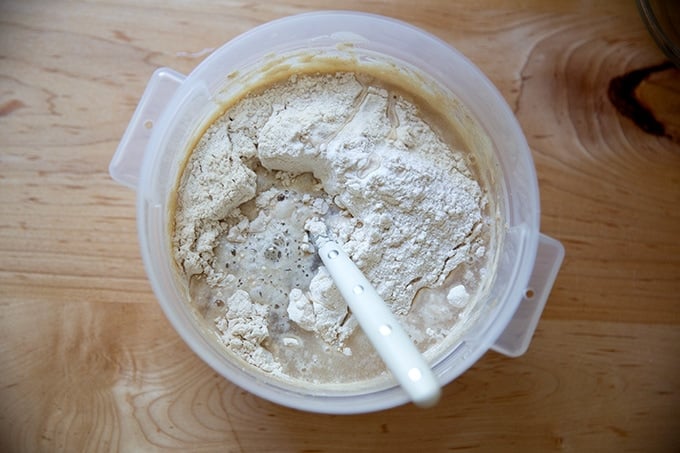
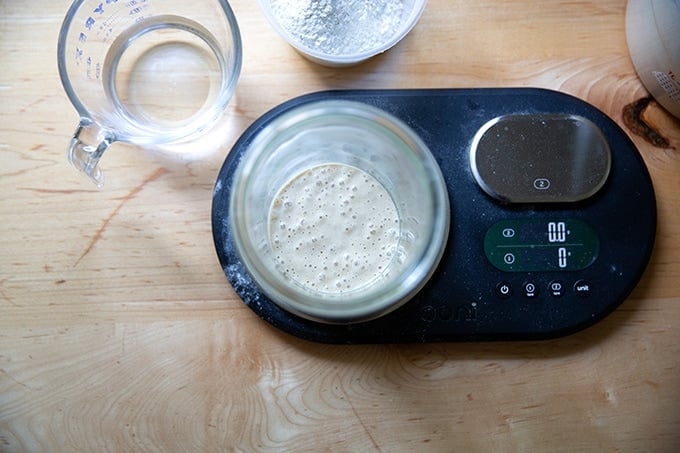
Day 3: Uncover the vessel.
Measure out 128 grams (about 1 cup) of flour and 128 grams (about 1/2 cup) of water:
Add them to the vessel.
Stir to combine.
Cover the vessel and record your work again. Let it sit at room temperature for 24 hours, stirring once or twice.
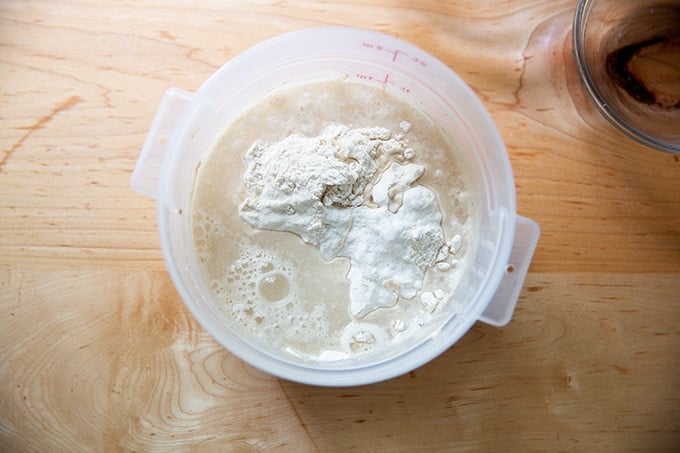
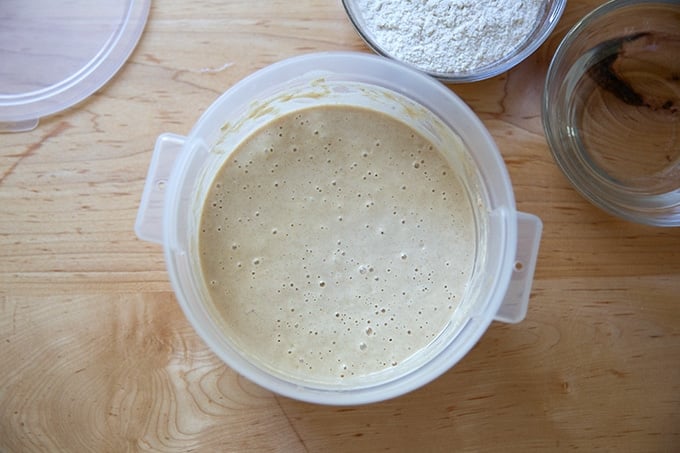
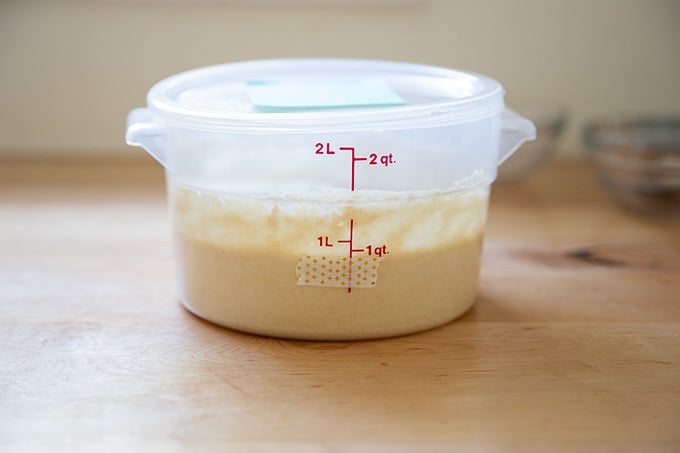
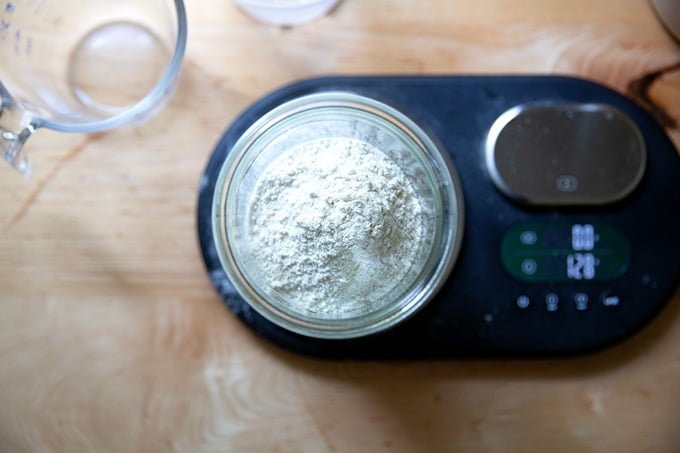
Day 4: Uncover the vessel. You should see a little action (bubbles). Measure out 128 grams (about 1 cup) of flour and 128 grams (about 1/2 cup) of water:
Add them to the container.
Stir to combine.
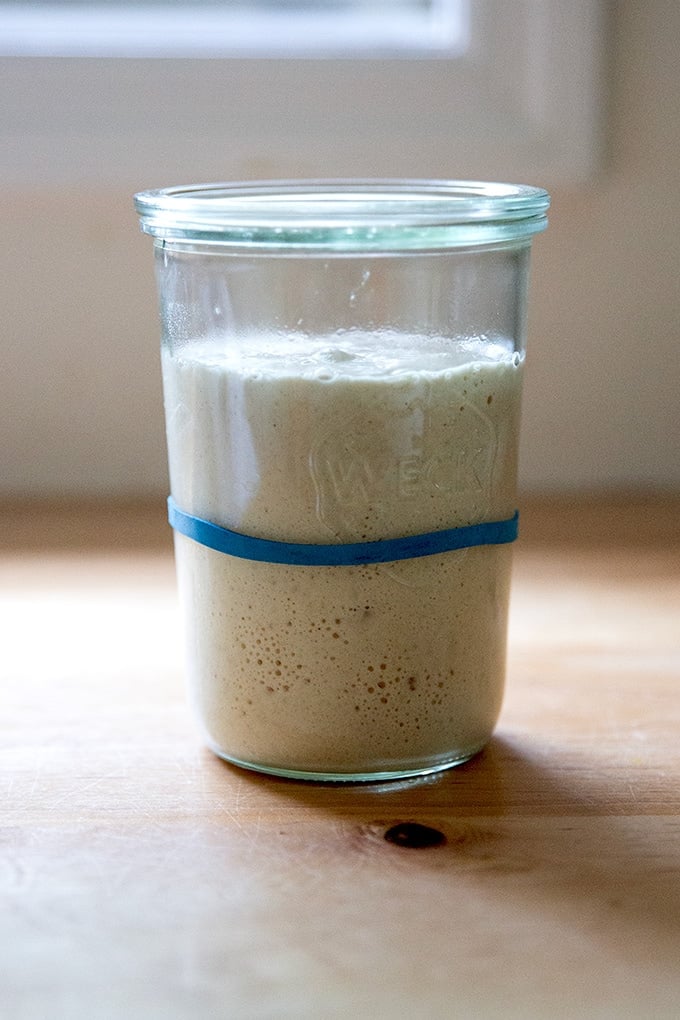
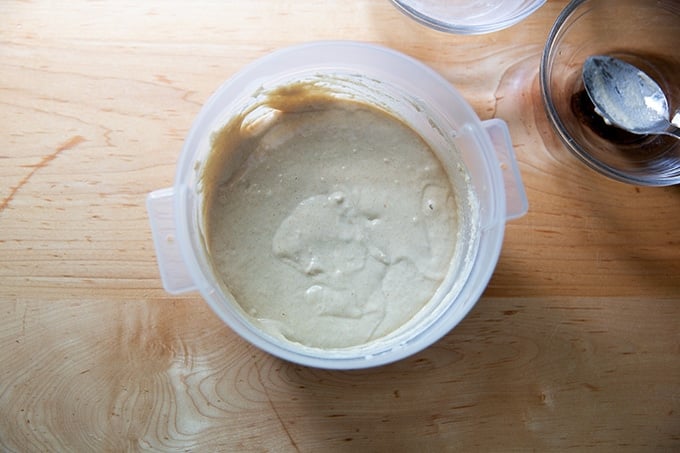
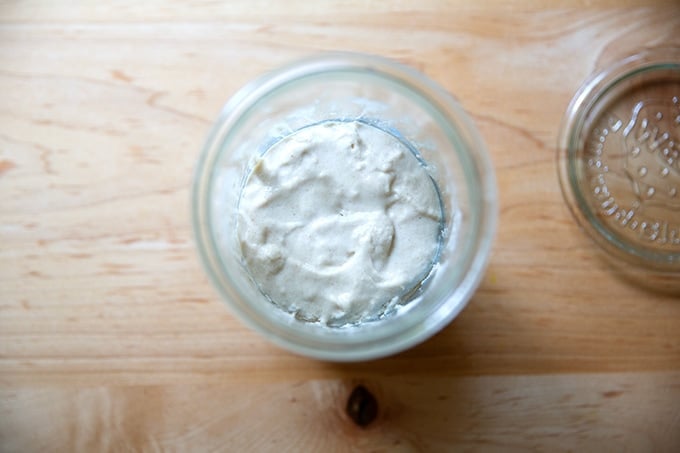
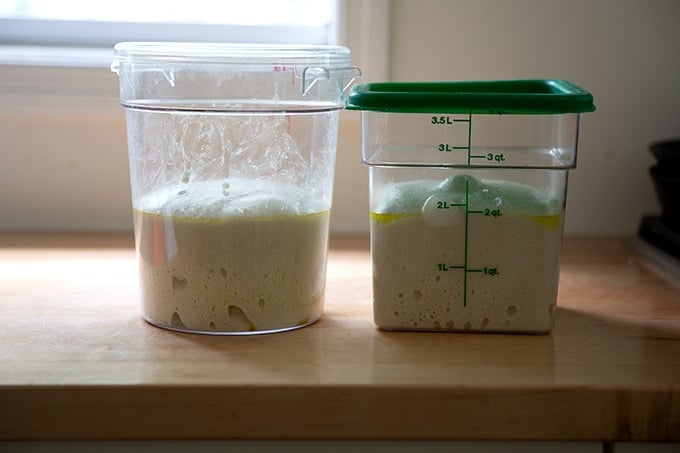
On this day, record your work again, and mark the height of your mixture with tape on the side of your vessel. Let it sit at room temperature for 24 hours, keeping a closer watch this time around.
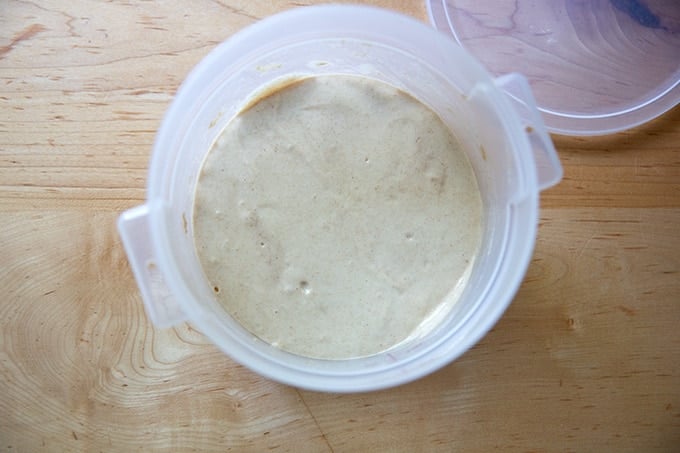
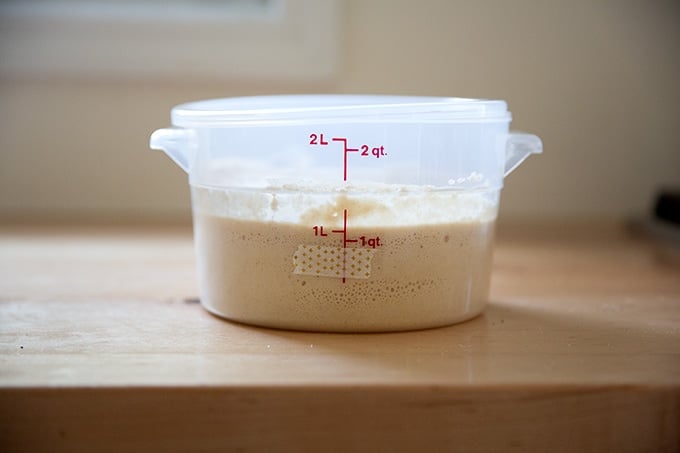
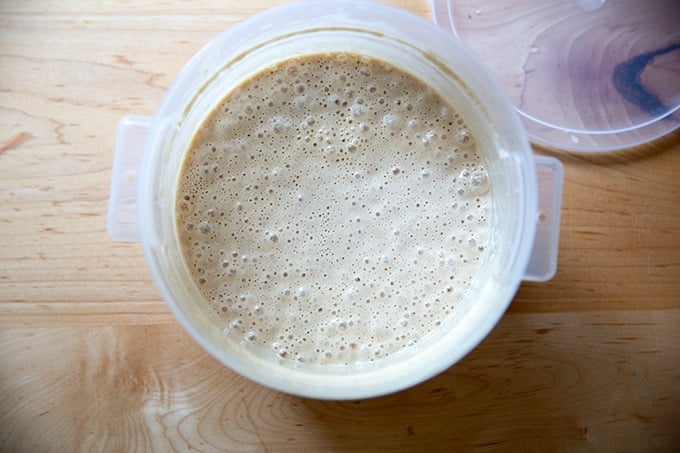
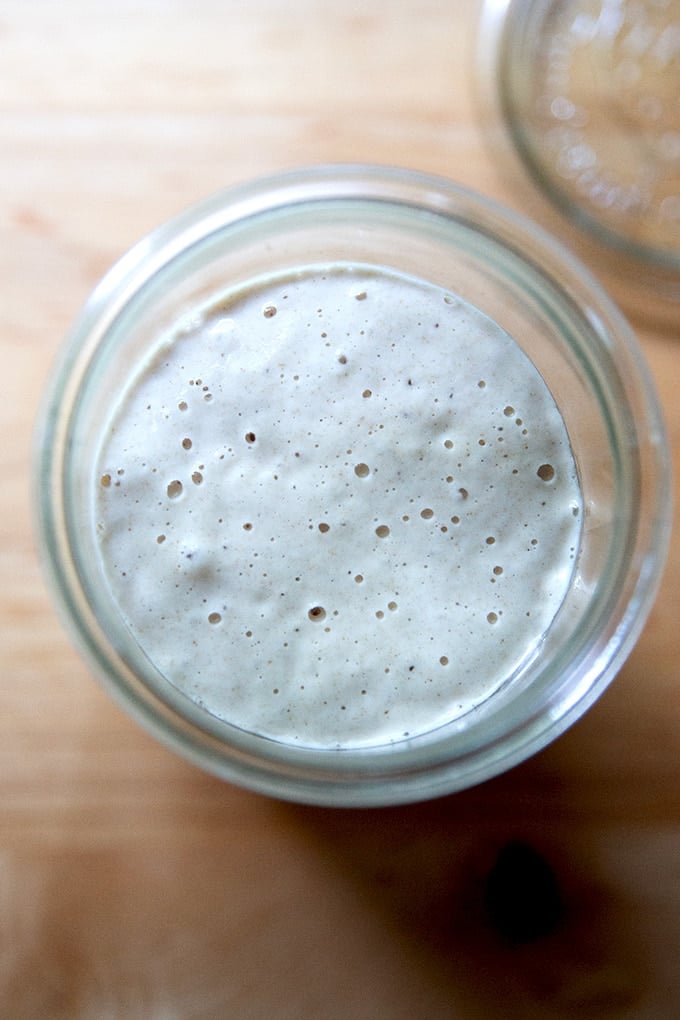
You will likely see some action…
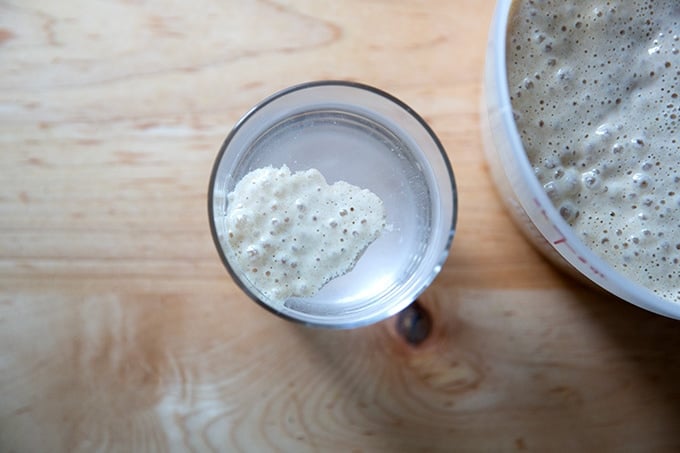
The mixture might even double in volume.
And you should see lots of bubbles on the surface.
If your mixture is in fact rising, let it rise until it nearly doubles in volume; then drop a spoonful of it in water. If it floats, you’re in business. Note: Your starter might rise (and maybe fall) while you are sleeping — don’t worry if you don’t “catch” it at its peak. Continue on with the process that follows.
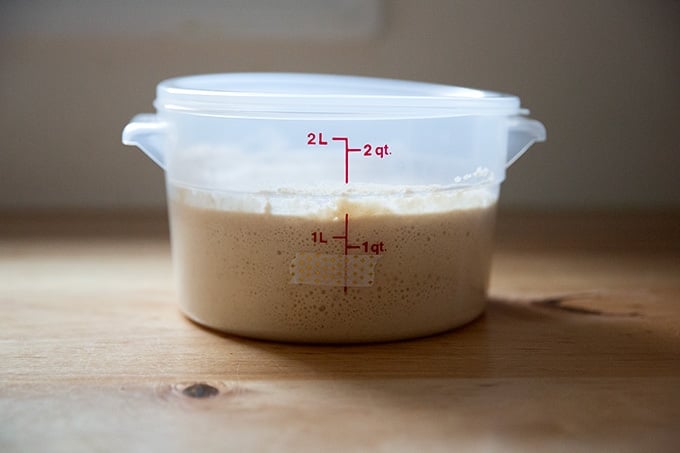
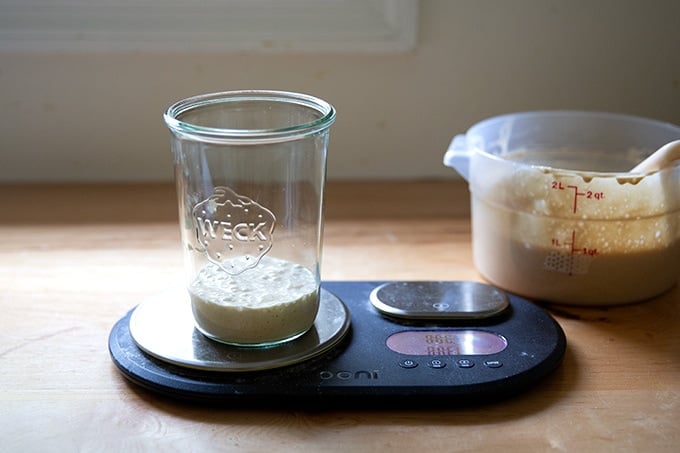
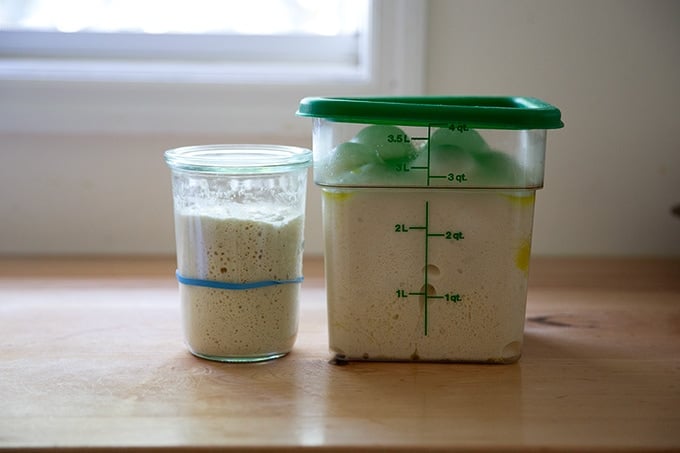
Spoon 128 grams of the starter into a new vessel.
Measure another 128 grams of flour and water each.
Add the flour and water to the starter.
Stir to combine.
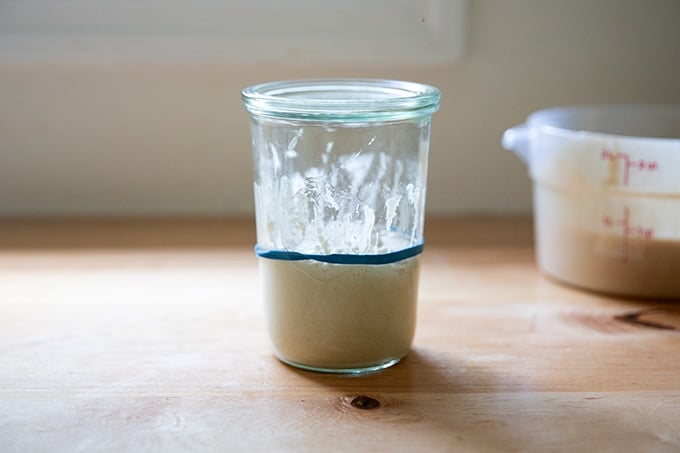
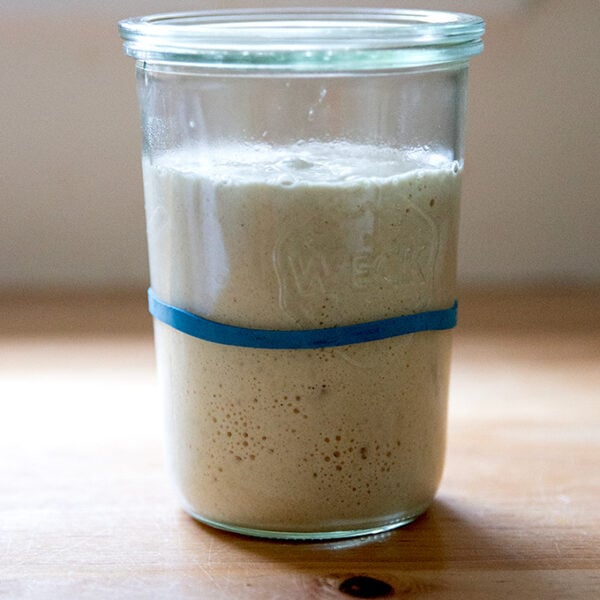
Mark the height with a rubber band.
This original vat of sourdough starter is now your discard bucket. Transfer it to the fridge or use it in one of your favorite sourdough discard recipes: tortillas, crackers, pancakes, soda bread.
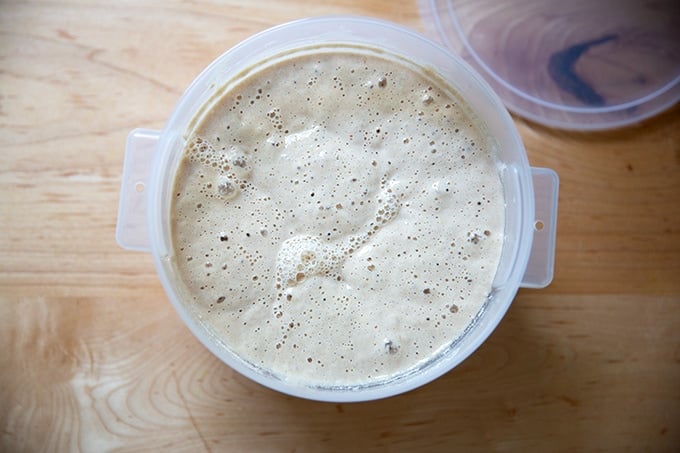
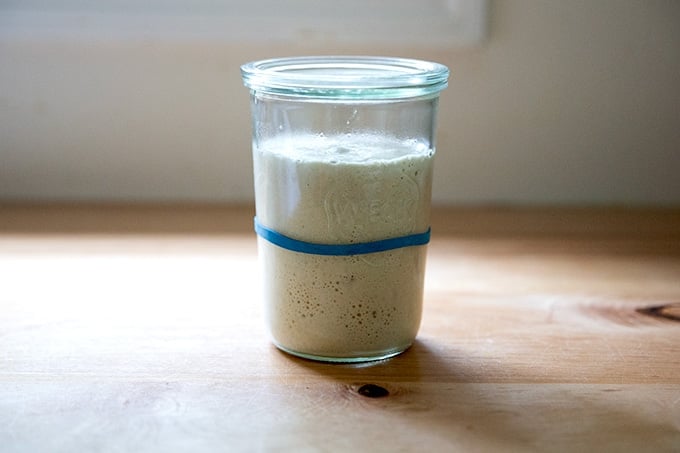
Day 5: When your starter doubles…
… and floats, you can do one of three things:
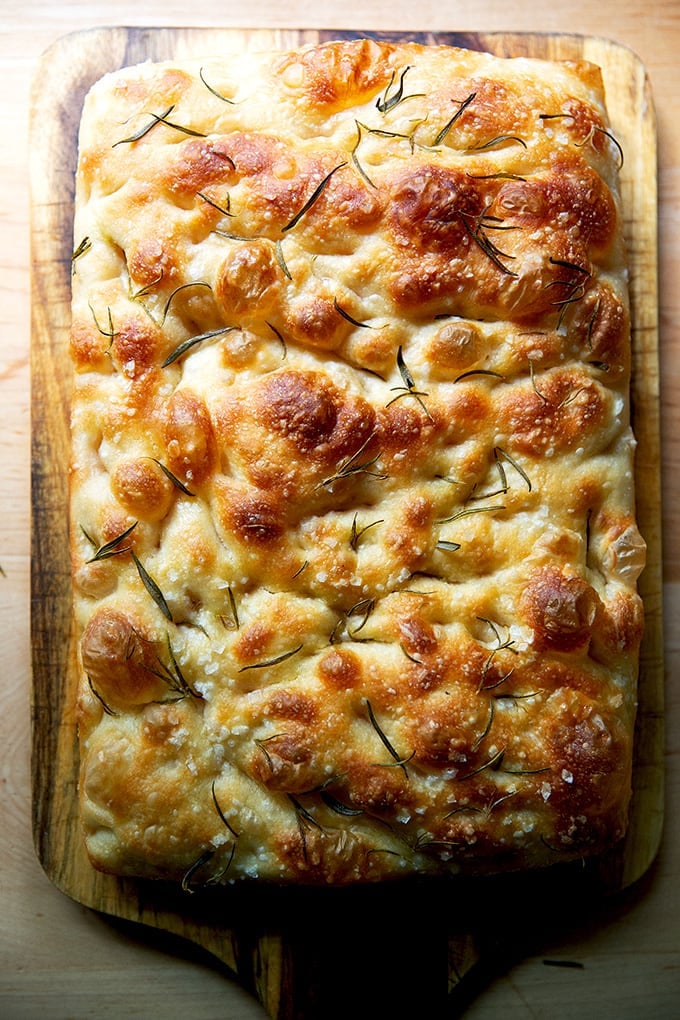
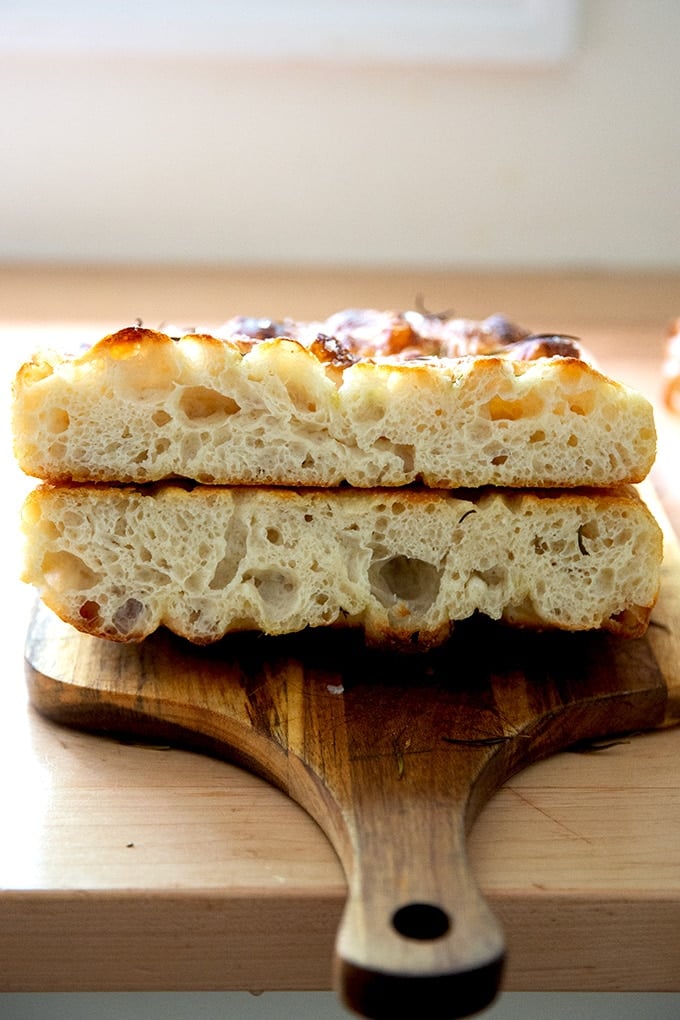
… in a sourdough bread recipe. I recommend starting with…
… focaccia, one of the easiest breads to make.
More Sourdough Recipes to Try
Here are a few other favorite sourdough bread recipes to make with your new starter.
Simple Sourdough Bread, Step by Step Simple Sourdough Ciabatta Simple Sourdough Pizza Sourdough Sandwich Bread Whole Wheat-ish Sourdough Bread Sourdough English Muffins
Next Steps
Although your starter might be doubling in volume and floating, it likely still could use some nurturing to get stronger. Please read this post, which explains in detail how to activate, feed, and maintain a starter.
4.9 from 18 reviews This recipe below outlines how to build a sourdough starter from scratch. If you are looking for guidance on how to feed, maintain, and store your already strong starter, see this post: How to Feed, Maintain, and Store a Sourdough Starter.
Four Tips for Success
Pineapple Juice: My small cans of pineapple juice are labeled as 6 ounces (177 ml), but when I actually weigh the juice inside, it always weighs around 192 grams. The important thing is to use an equal amount by weight of flour and pineapple juice. Water: I have no trouble using tap water when building a sourdough starter or when making a sourdough bread recipe. If you have concerns about your water, you can:
Use water that you’ve left out overnight to ensure any chlorine has evaporated. Buy spring water. In some places, letting water sit out overnight will not be effective, and your tap water may kill your starter.
Discard: At the end of the four-day process, you’ll be left with a decent amount of sourdough discard, which you can use in countless recipes. Here are a few of my favorites:
Simple Sourdough Discard Crackers Sourdough Tortillas Favorite Pancakes Irish Soda Bread