In early November, Maurizo Leo released his first cookbook: The Perfect Loaf: The Craft and Science of Sourdough Breads, Sweets, and More. The arrival of his book coincided with a homemade sourdough starter experiment, and so I spent much of those first few weeks exploring Maurizio’s various sourdough discard recipes, namely the pancakes and the cornbread, both of which my children loved. In the weeks that followed, I read through the book’s introduction and various guides and learned more about Maurizio’s approach to sourdough, which I have long known from his beautiful blog, The Perfect Loaf, as being very technical, scientific, and precise. But I’ve since learned so much more. Given the breadth of his book, there are many details and features I could discuss — like why Maurizio favors using a levain (as opposed to simply using his starter) for leavening and why he almost always incorporates some freshly milled flour into his loaves — but let me share a few highlights.
The Perfect Loaf: Highlights
In the introduction to the book, Maurizio writes: “The breadmaking process may initially seem very long and complicated, but mostly the dough is left to rise unattended, with you stepping in time to time to guide it along the way.” And he continues to note “the amount of detail and guidance [he’ll] provide will never leave you feeling lost.” This is true. If you are into or interested in sourdough bread baking, The Perfect Loaf is a must-have for your library. Here are few highlights:
How to build a sourdough starter from scratch. How to maintain a sourdough starter including a small one. Sourdough starter troubleshooting. Sourdough bread baking troubleshooting. QR codes that link to videos at nearly every turn. In depth explanation about levains, and why Maurizio prefers using a levain to simply using his sourdough starter. Detailed explanations about flour including freshly milled flour. Recipes for both savory and sweet sourdough breads. Baking timelines for each recipe. Sourdough discard recipes.
What you you will not find? Volume measurements. So get a scale! It will change your life. PS: If you’re new to sourdough bread baking, I have a free email course that covers the basics.
About These English Muffins
I would be lying if I said I wasn’t drawn to this particular recipe for its seeming ease relative to some of the other recipes. It does not require an autolyse — hooray! — and it does not require muffin rings either. The dough is made in a stand mixer, though you could certainly mix it by hand, and it requires both a stovetop sear and some time in the oven. Here’s an overview of the process: These English muffins are light and airy and have the loveliest chew. They’re irresistible toasted and slathered with butter, and, as you can imagine, they make outstanding eggs Benedict, which I made for breakfast for the first time in ages this past Christmas Eve. Next time I’ll be sure to heed Maurizio’s advice, which is to make a double batch, as a single never lasts long enough. Maurizio Leo’s The Perfect Loaf 🍞🍞🍞🍞🍞
How to Make Sourdough English Muffins, Step by Step
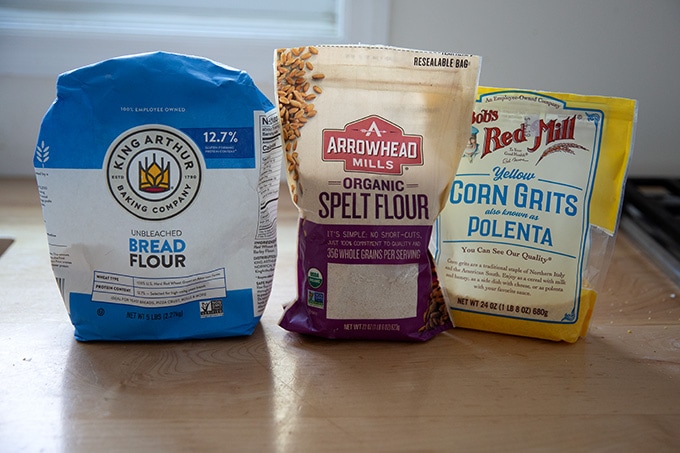
Before you begin, here are some flours you may want to pick up: high-protein flour (such as KAF’s bread flour) and spelt flour (for the dough itself) along with polenta or semolina flour (for the exterior).
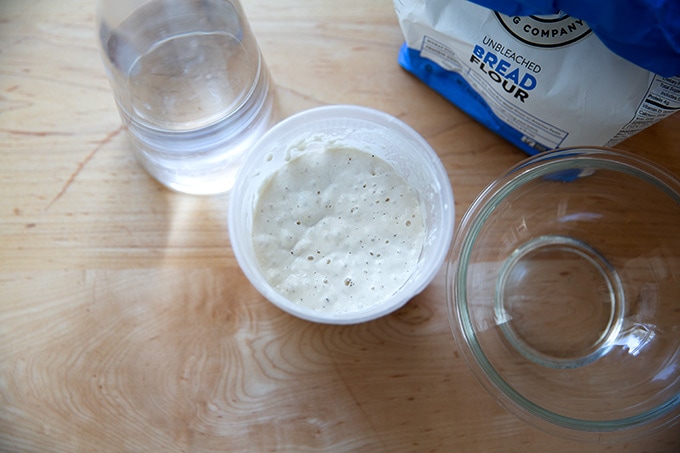
This recipe starts by making a levain, a mix of ripe sourdough starter, water, and flour.
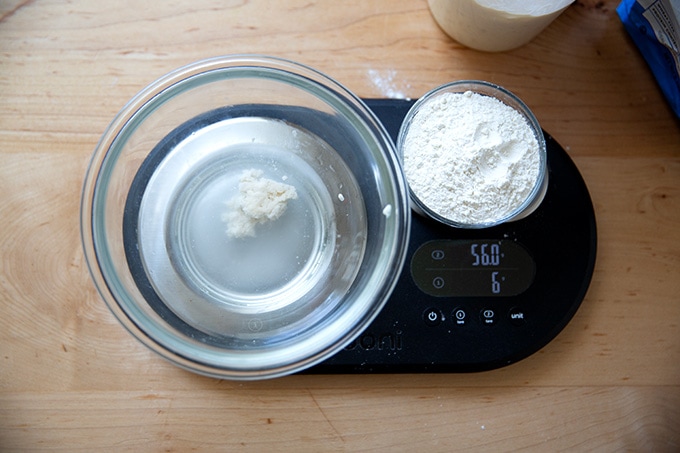
You’ll need 6 grams of ripe starter and 56 grams each flour and water.
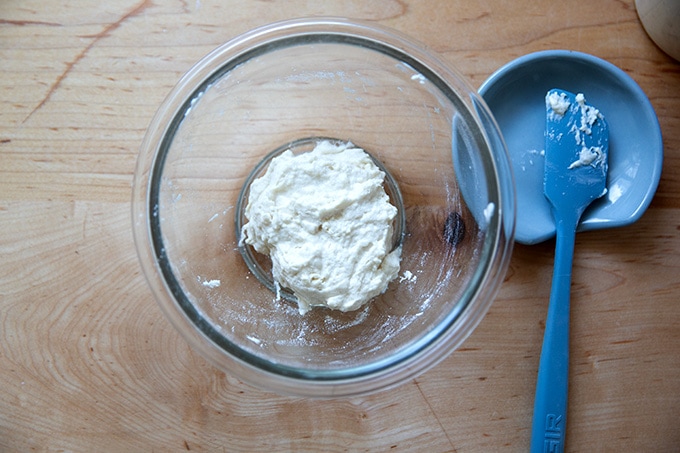
Mix together the flour, water, and starter in a bowl, cover it, and let it sit for 12 hours…
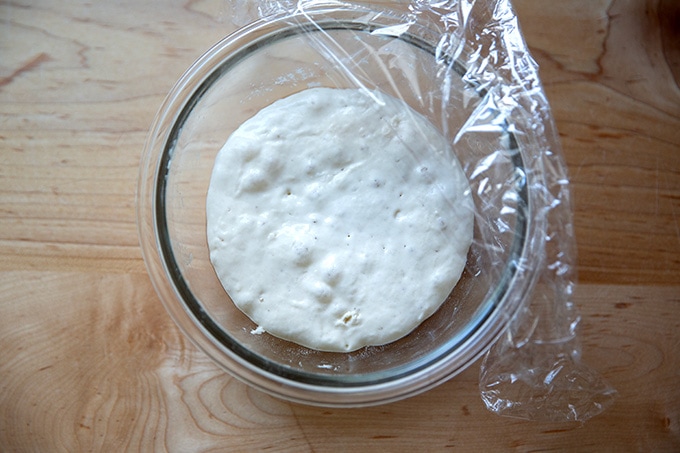
… or until is shows lots of signs of activity:
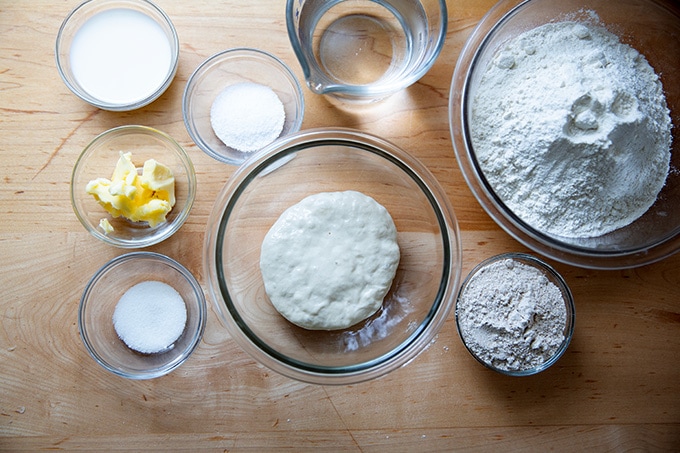
Gather the rest of your ingredients: water, milk, salt, sugar, butter, and flour.
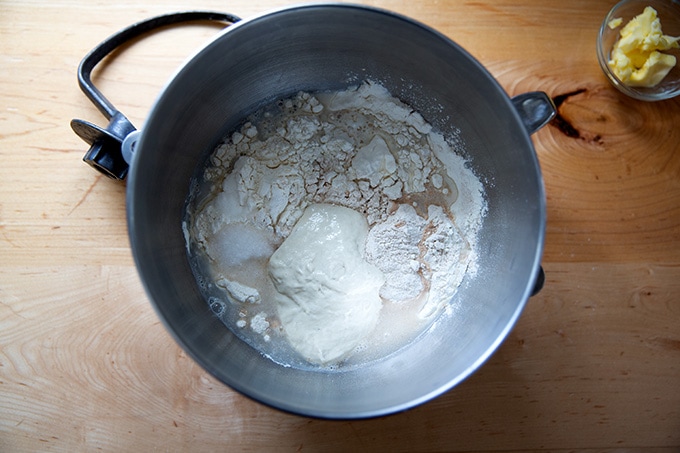
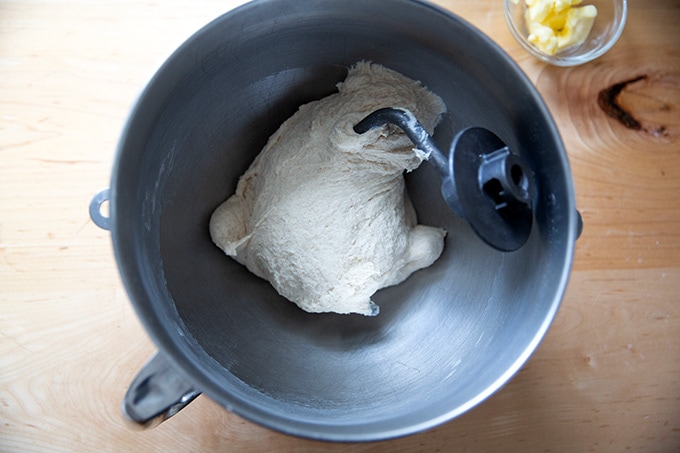
This dough is made in a stand mixer, though you could knead it by hand if you don’t have one. First, combine all of the ingredients except the butter in the bowl of a stand mixer.
Mix on low speed for 1 to 2 minutes until combined. Increase the speed to medium and mix for 3 minutes until the dough begins to cling to the dough hook. Let the dough rest in the bowl for 10 minutes.
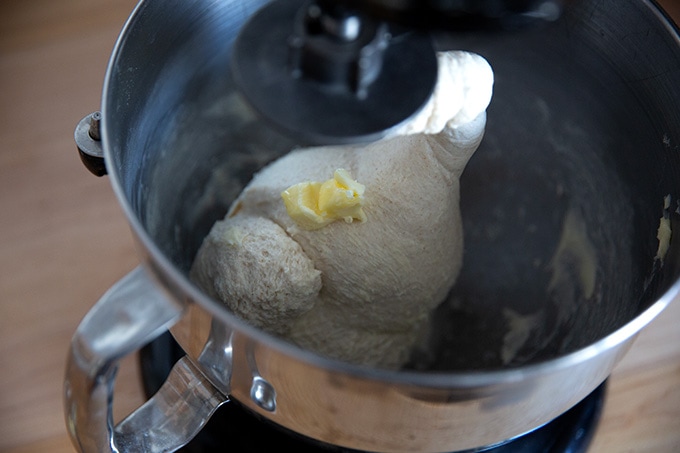
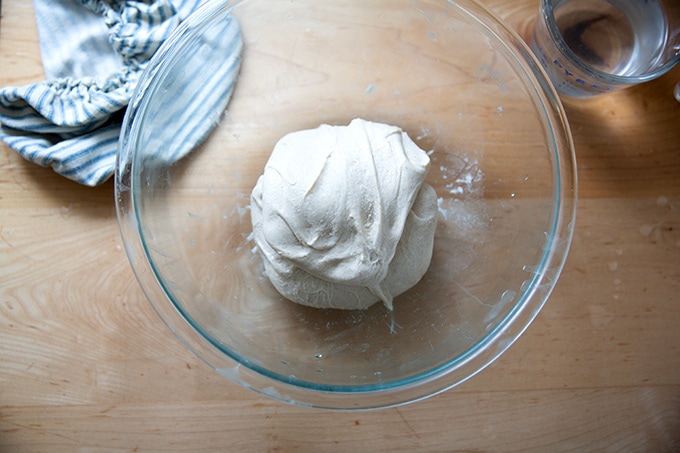
Add the butter, one pat at a time, until absorbed into the dough. Increase the speed to medium and mix for 1 to 2 minutes more until the dough smooths out and clings to the dough hook once again. The dough will be smooth and shiny.
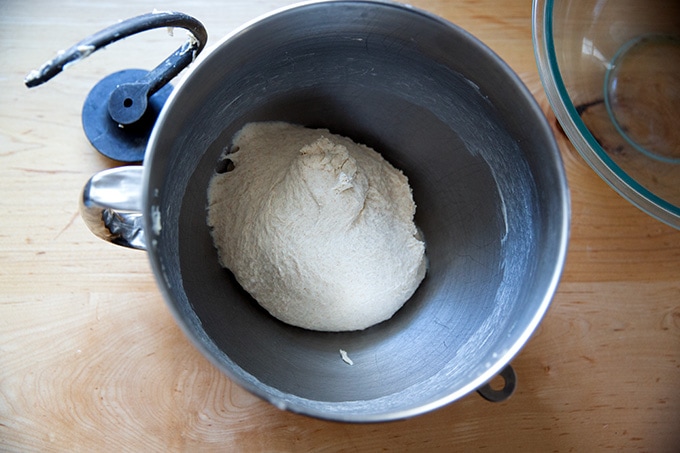
Stretch and fold: Let the dough rest for 30 minutes.
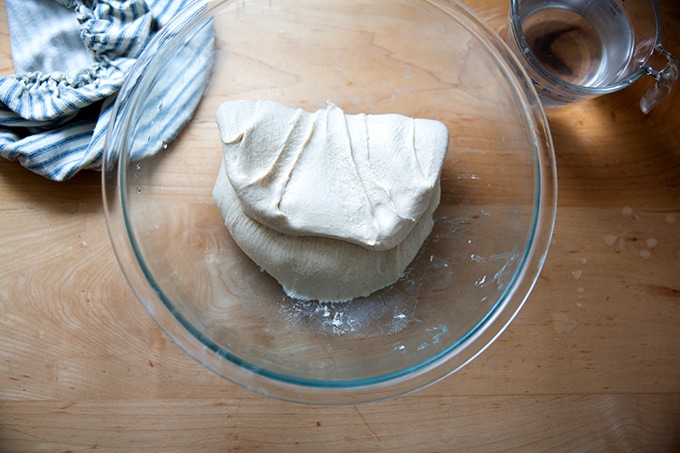
Using wet hands, grab one side of the dough and lift it up and over to the other side.
Rotate the bowl 180 degrees and repeat.
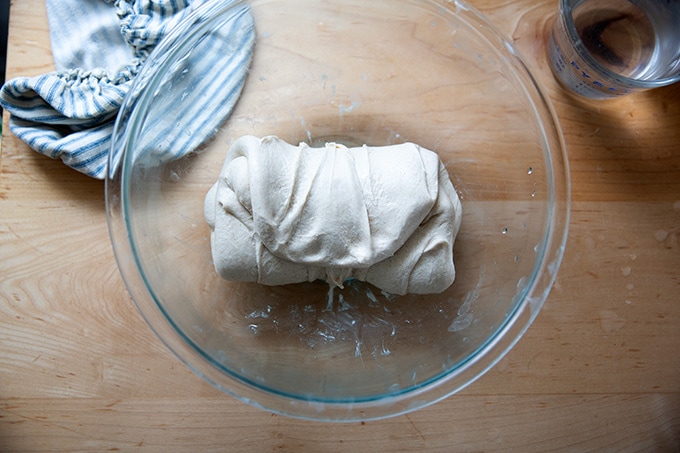
Then rotate the bowl a quarter turn and stretch and fold that side.
Rotate the bowl 180 degrees again and finish with a stretch and fold on the last side.
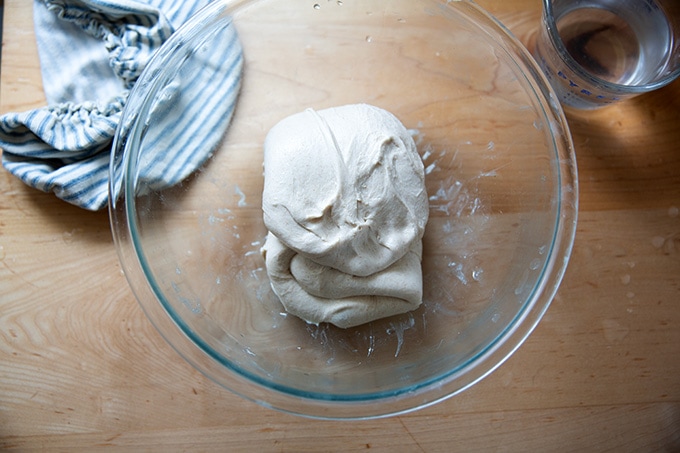
The dough should be folded up neatly. Cover the vessel, then repeat these folds every 30 minutes for a total of 3 sets of stretches and folds.
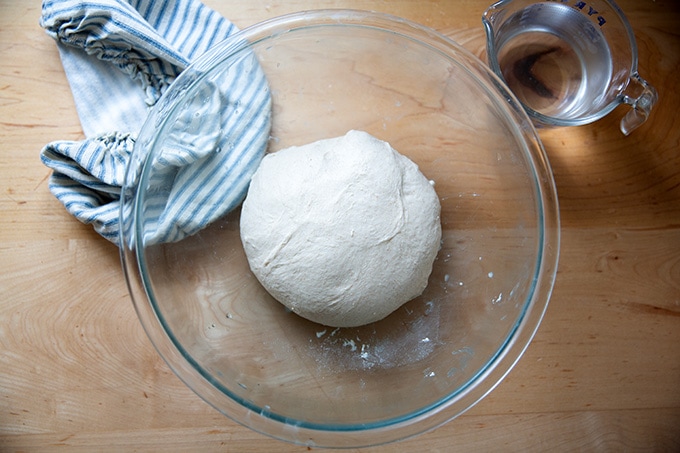
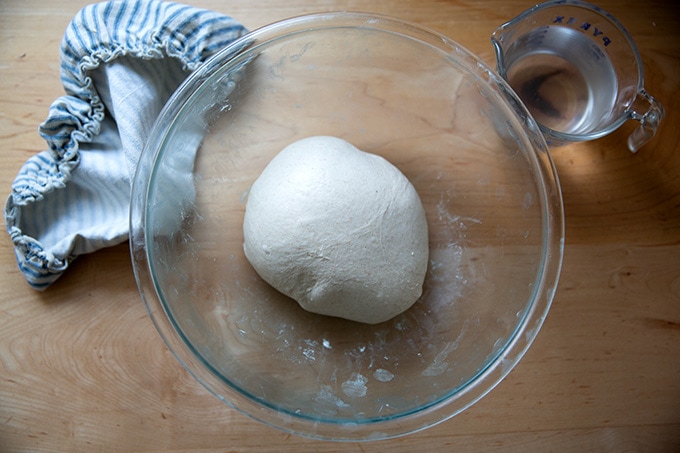
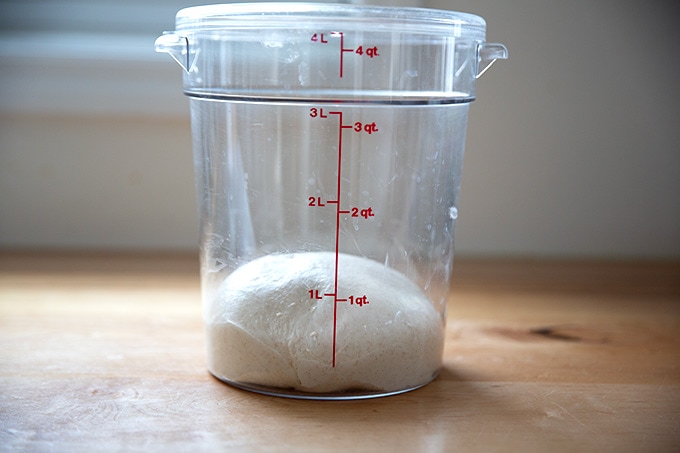
After the last set, cover the bowl and let the dough rest for the remainder of the bulk fermentation, about 2 hours (if your kitchen is 74ºF-76ºF) or longer if your kitchen is cooler. I transfer the dough to a straight-sided vessel for the bulk fermentation:
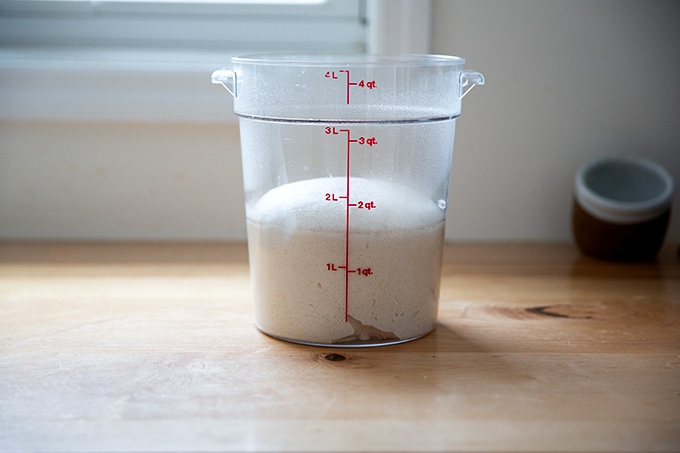
The bulk fermentation is complete when the dough has risen with domed edges. When determining when the bulk fermentation should end, Maurizio notes: “The amount of rise is less important than the fact that it has risen and looks alive and well aerated.”
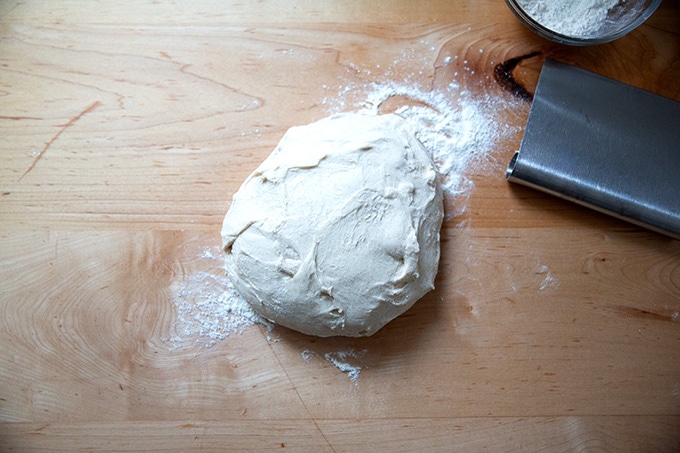
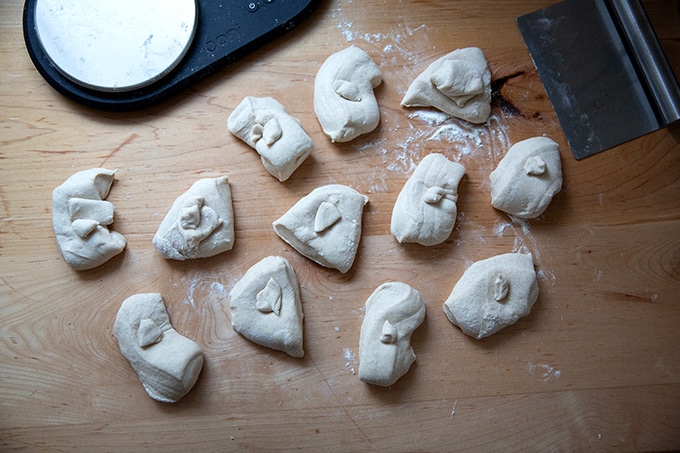
When the bulk fermentation is complete, turn the dough out onto a lightly floured work surface.
Divide the dough into 12 portions.
If you like to be precise, each portion should weigh 80 grams.
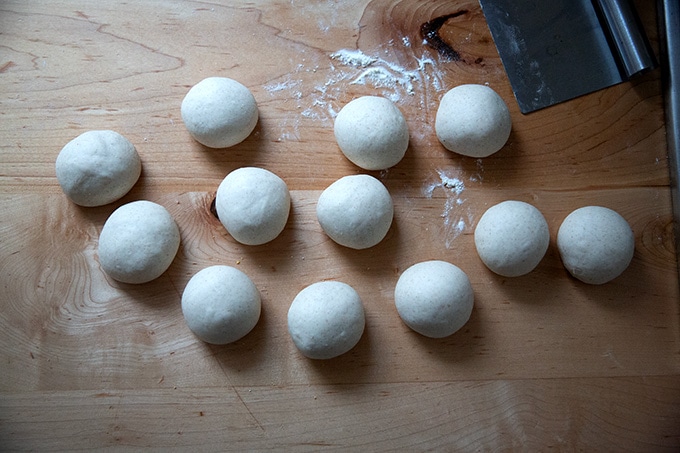
Ball up each portion.
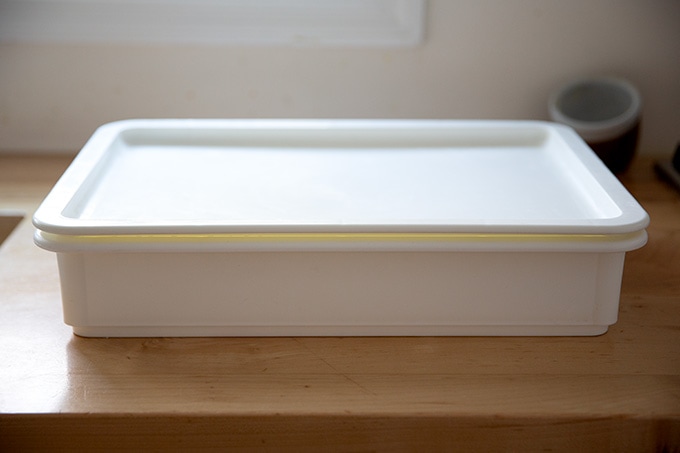
At this point, you’ll need a vessel for proofing. About a year ago, I bought one of these lidded DoughMate pizza proofing vessels, and I love it. It’s definitely bulky — I store mine in my basement — so if space is an issue, it might not be the best investment, but I love that the lid provides a seal and protects dough from drying out (or forming a hard skin) while proofing in the fridge or at room temperature. If you don’t have one, a 13×18-inch sheet pan will work just fine.
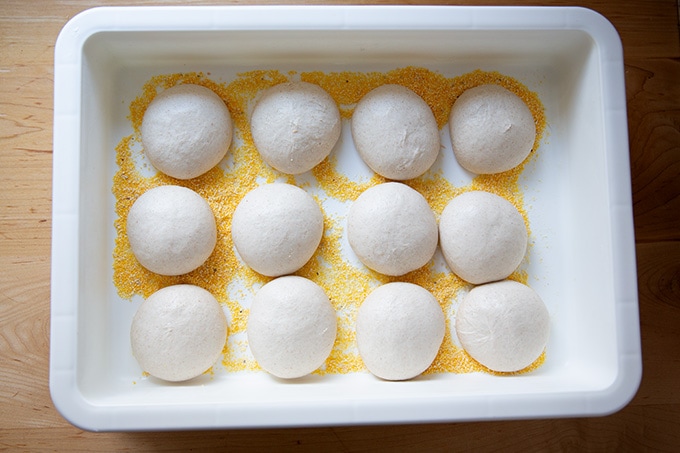
Dust the proofing vessel or a 13×18-inch sheet pan with semolina flour or cornmeal. Transfer the balls to the vessel, cover, then refrigerate overnight.
The following day, remove the vessel from the fridge and let the balls proof at room temperature for at least 3 hours or until they are very light to the touch.
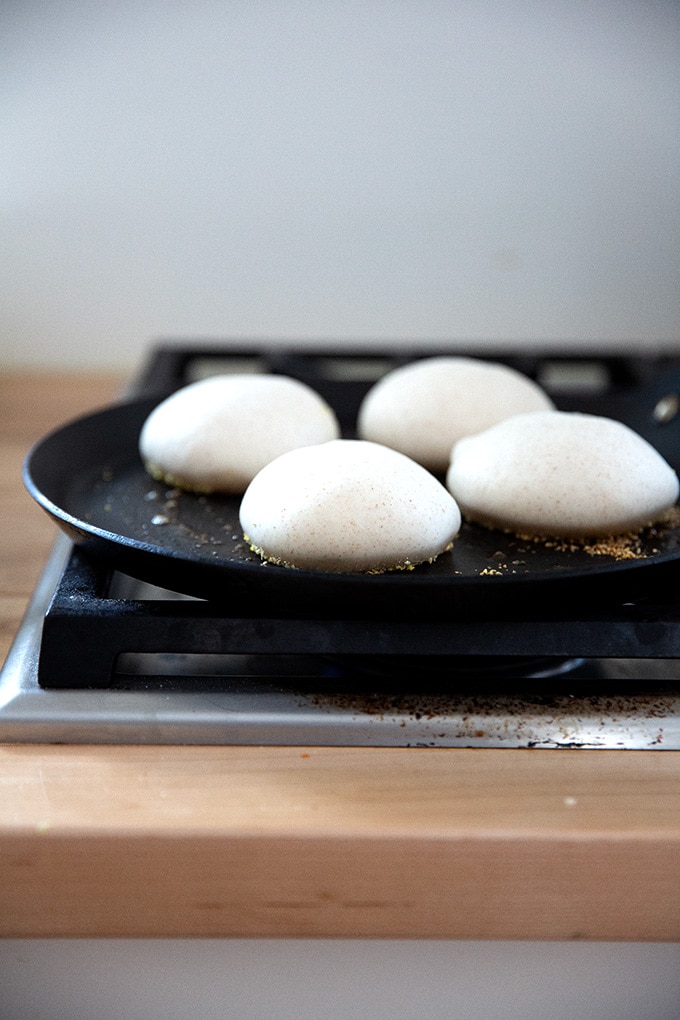
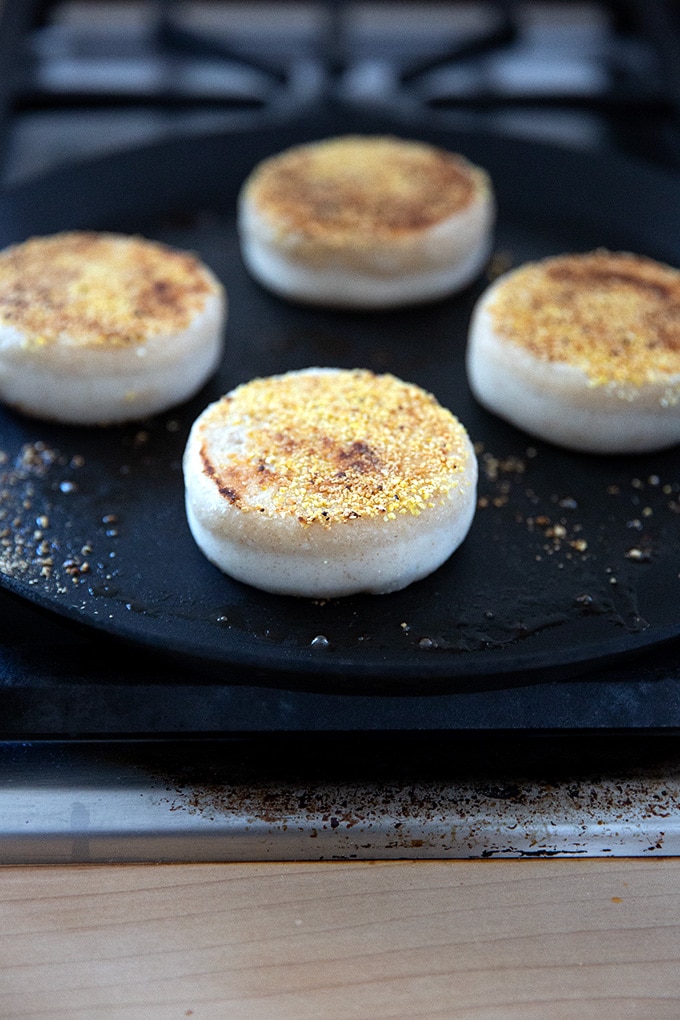
To cook, you’ll brown each side of the English muffin dough balls in a skillet on the stovetop.
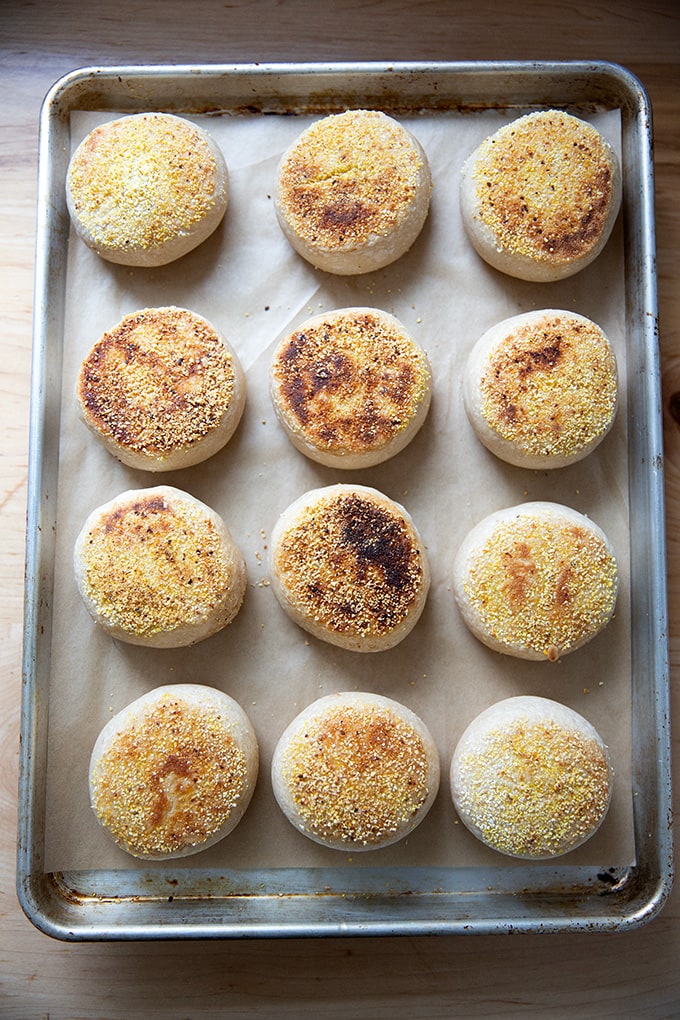
Then you’ll bake them for 15 minutes.
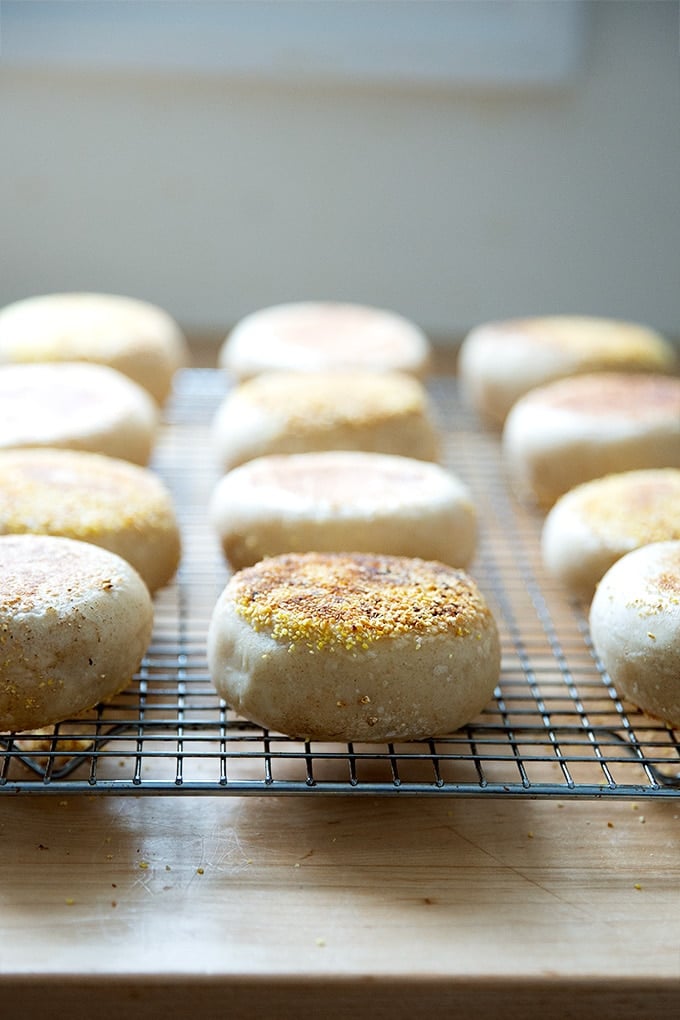
Let them cool for at least 30 minutes before halving and devouring…
… or, if you have the patience, toasting and slathering with butter.
5 from 20 reviews
There are no volume measurements for this recipe, so you’ll need a digital scale.
Notes:
Water Temperature: Maurizio gives very specific temperatures of the water. This is all in an effort to allow the dough to ferment properly. For the levain, the specific temperature of the water is 78ºF. For the dough itself, the temperature of the water you should use will vary depending on the temperature of your kitchen, and Maurizio provides a way to calculate this figure as well as a handy chart (if you hate math) in his book. When my kitchen is 68ºF, I should use water that is roughly 98ºF.