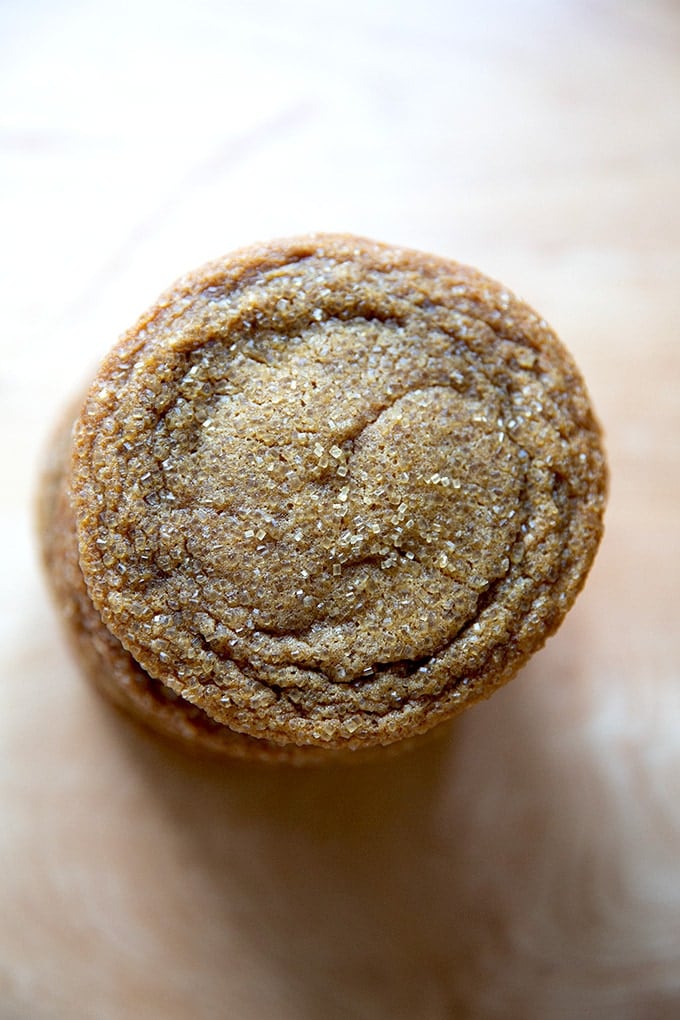
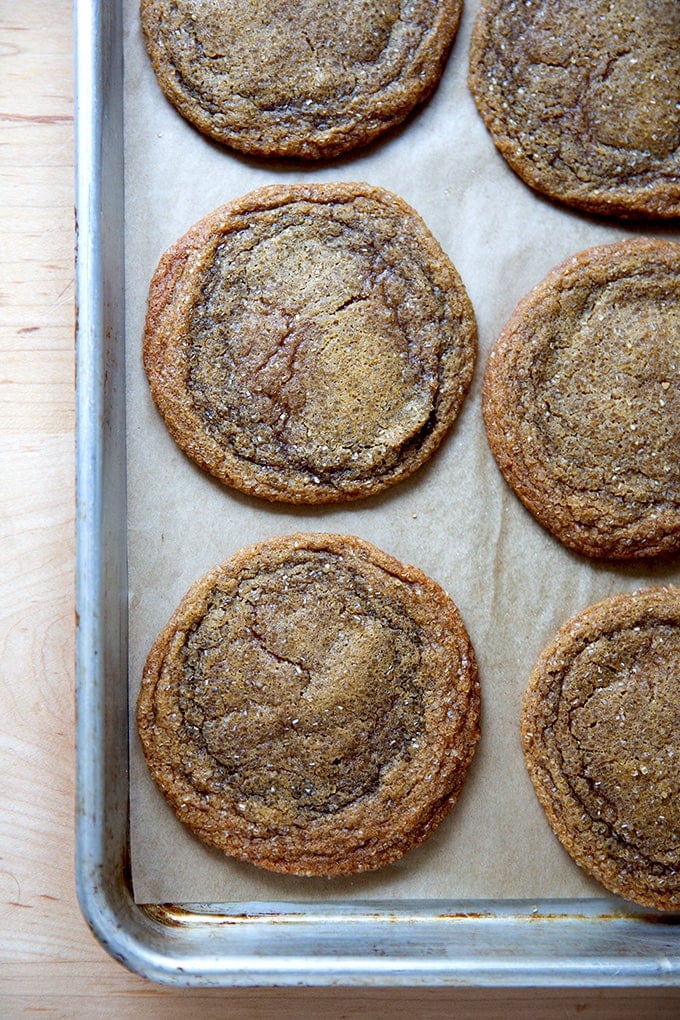
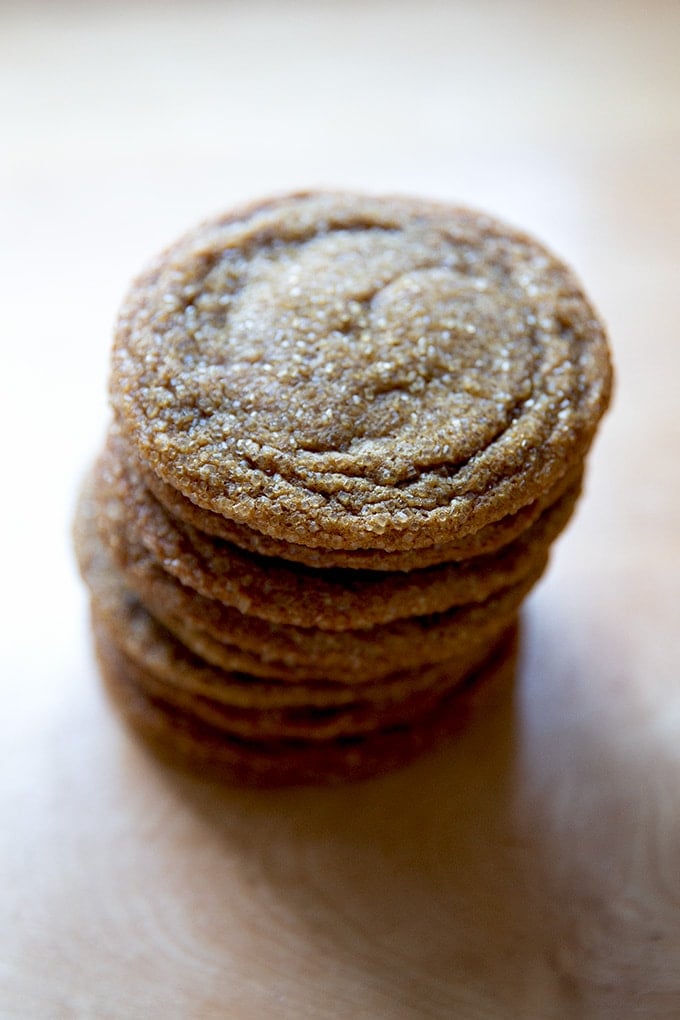
This will be the year, I told myself. This will be the year I learn how to make dulce de leche stuffed alfajores and red and green checkerboards and fruit cake whoopie pies and — for my British-treat loving sister — homemade jaffa cakes!! Upon returning home, I threw that magazine onto the coffee table, where it sat unopened till last Sunday afternoon when one of the children asked when we were going to make Christmas cookies. Hmmmm, I thought, as I eyed the unfolded laundry spilling off the couch, the mudroom littered with mismatched mittens and snow boots that fit nobody, our dinner a far cry from making its way to the table. BUT: Tis the season! I picked up the magazine, scrapped my lofty cookie-making dreams, and scanned for an easy-yet-still-festive recipe, one with a short-ish ingredient list, minimal steps, and no frills or frostings. When I came across a recipe for maple gingersnaps with a photo depicting a tray of ripply-edged, turbinado-sugar coated cookies, my search ended. We made the cookies that evening, making a few teensy changes, most notably using melted butter as opposed to softened, which turned the process into a one-bowl job. After a 30-minute chill, the dough was ready to be portioned, coated in sugar, and baked. Like Melissa Weller’s chocolate sugar cookie recipe, this one does not require the cookie dough balls to be chilled before baking. Why? Let’s review: In A Good Bake, Melissa writes: “The rise-and-fall process is a result of the baking soda reacting with the cocoa powder and brown sugar before the cookie is set. When the cookies are removed from the oven, they fall, giving them that crackle top. How quickly the cookie rises before it sets up is the key to achieving that finish.“ To ensure these cookies rise quickly, Melissa doesn’t refrigerate the dough before baking — i.e. room temperature dough rises more quickly than cold dough. As expected, these gingersnap dough balls puffed in the oven, then collapsed upon cooling. They are crisp at the edges, soft and chewy in the center, and spiced just right with all of those warm, wintry notes we crave this time of year: ginger, cinnamon, and freshly grated nutmeg. I was drawn to this recipe for the reasons noted above but also for the appealing twist on the classic gingersnap: the replacement of some of the molasses with maple syrup. In the end, I couldn’t really detect the maple flavor, and though I was tempted to make another batch with the molasses completely replaced by the maple syrup I didn’t dare mess with the formula, which not only produced a cookie we unanimously loved, but also scratched the children’s Christmas-cookie making itch. For now, that is. PS: 30 Christmas Cookies to Make and Gift All Season Long
How to Make Gingersnaps, Step by Step
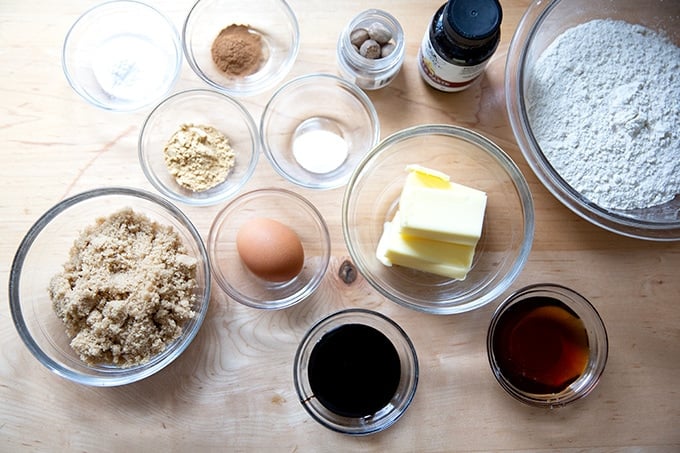
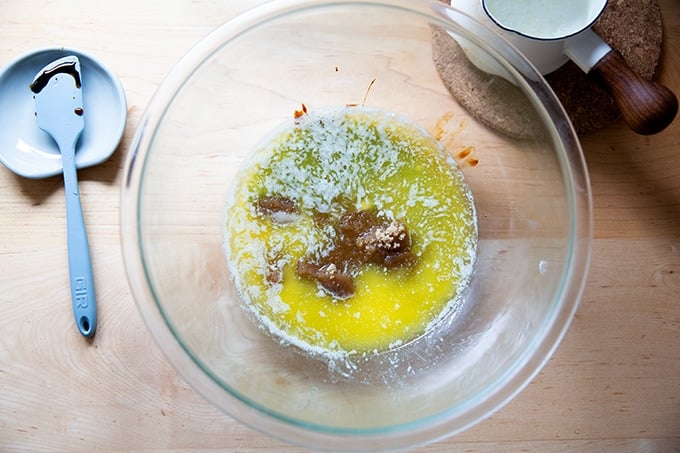
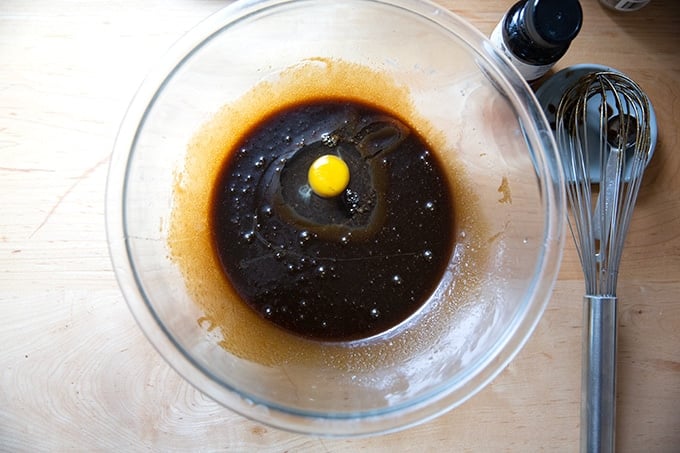
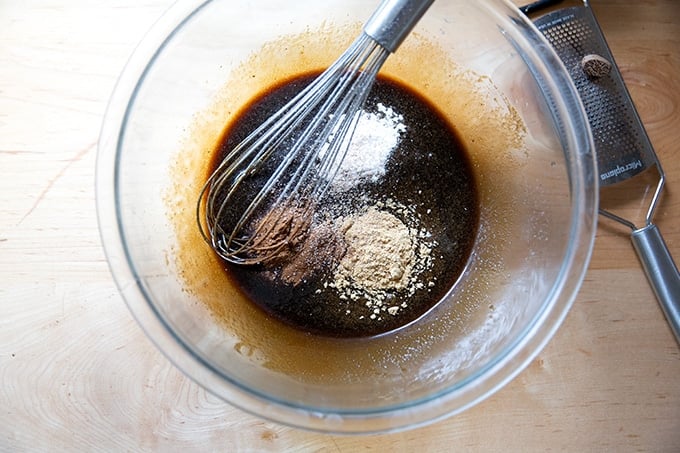
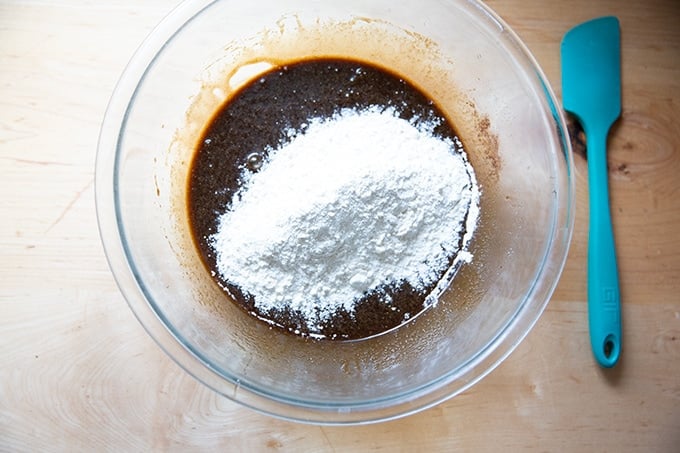
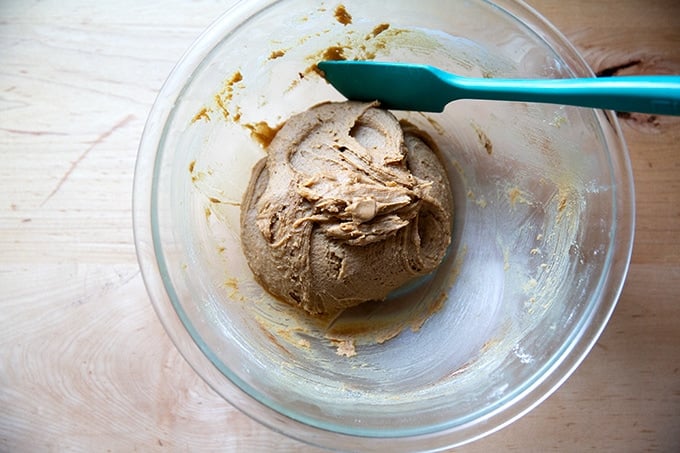
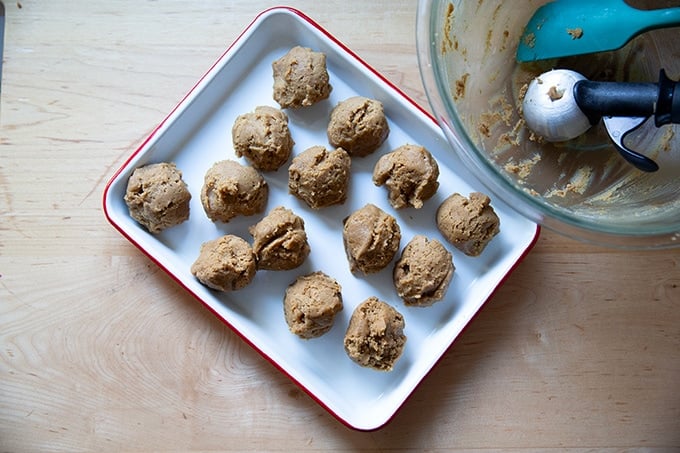
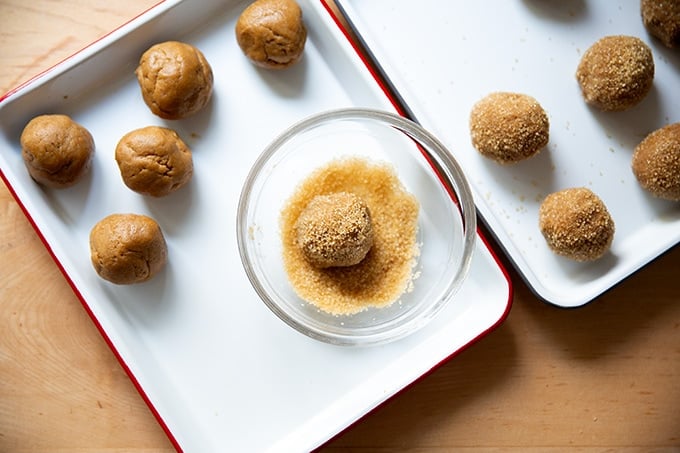
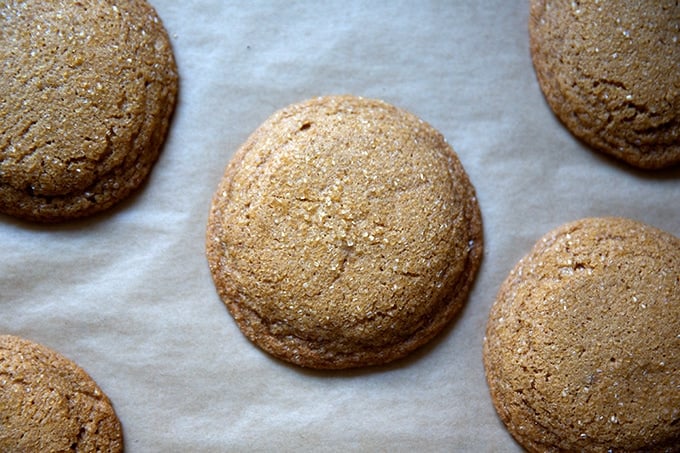
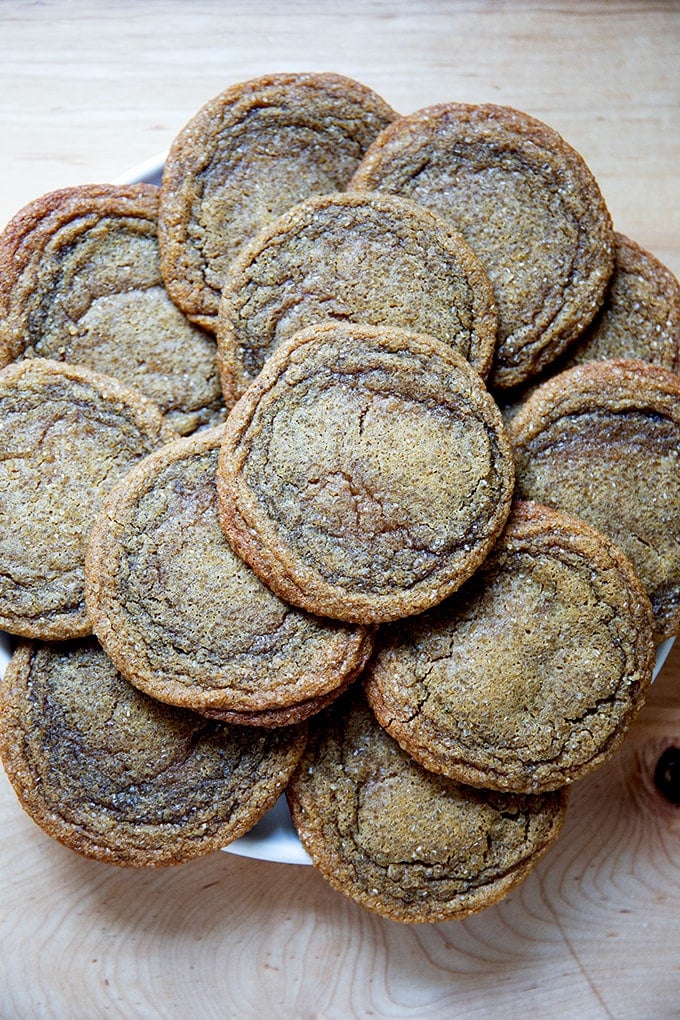
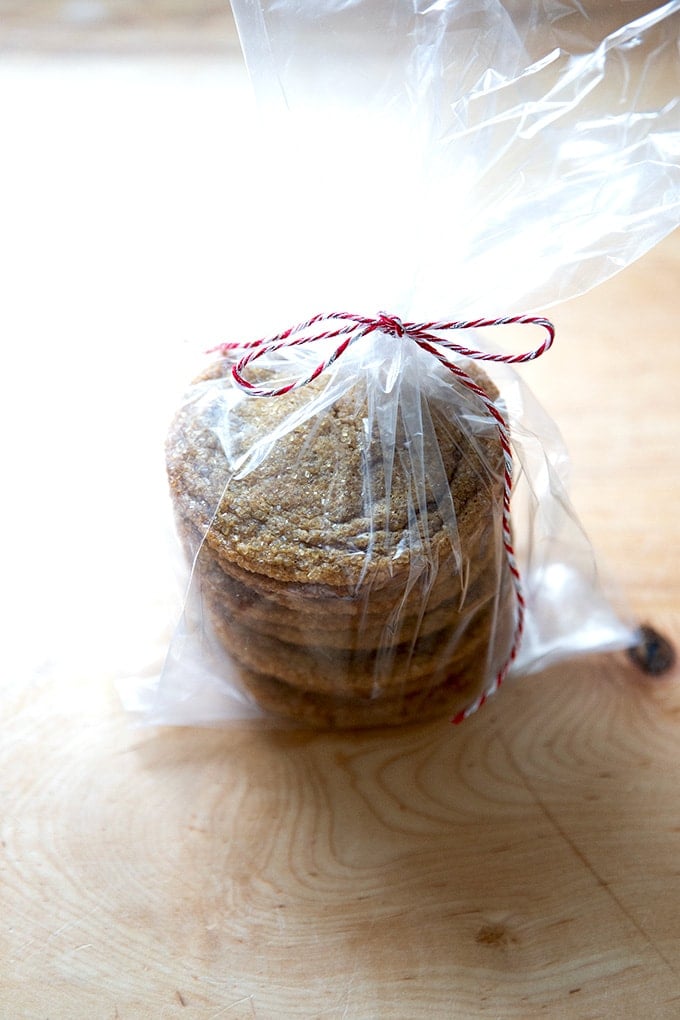
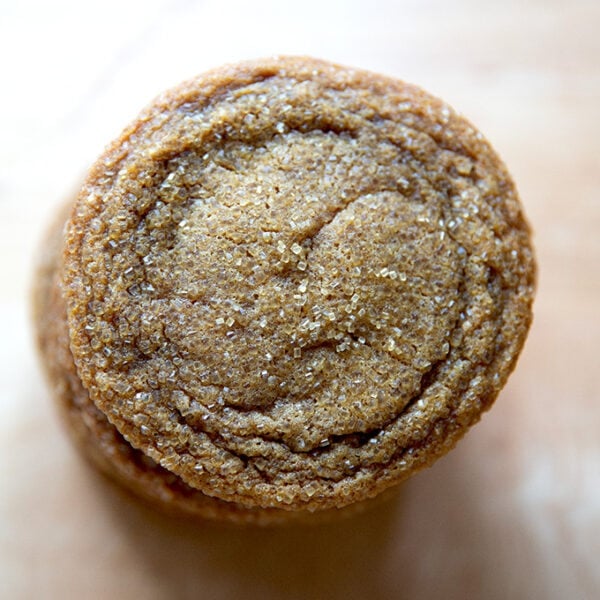
Gather your ingredients: For spices, you’ll need: cinnamon, ginger, and nutmeg. First, melt the butter and let it cool briefly; then add brown sugar, molasses, maple syrup, and salt. Whisk to combine, then add 1 egg and some vanilla. Whisk until smooth then add the spices and baking soda and whisk until blended. Finally, add the flour and stir just until it is absorbed. Chill for 30 minutes (or longer if necessary). Portion the batter roughly into 14 balls. Roll into balls; then coat each one in turbinado or granulated sugar. Transfer to a sheet pan and bake for 10 to 12 minutes at 350ºF. The cookies will puff as they bake… … and collapse as they cool. Let them cool completely on the sheet pan. Pile them onto a plate or … … bag them up and give them away. 4.8 from 18 reviews Changes I’ve made to the recipe include using melted butter as opposed to softened, one bowl to mix, a slightly larger cookie size, and a lower baking temperature.
Notes:
For best results, use a scale to measure. I use the scale both for measuring the ingredients and for portioning the batter into 14 equal balls. Molasses: Upon setting out to make these cookies, I found two bottles of molasses in my pantry and I made a batch with each. Conclusion: Do not use blackstrap molasses, which will make your cookies more cake-like in texture and unpleasantly dark in color. Regular molasses or “fancy” is what you need. I find chilling the batter necessary after mixing it to allow the batter to firm up and make it easy to portion into balls. After this, I do not find it necessary to chill the portions to prevent spreading. If you are finding that your cookies are spreading, try chilling the portions for at least one hour before baking. You also can chill the balls for longer if that works better for your schedule. The material of your sheet pan could also be causing your cookies to spread more. I find my old, slightly blackened pans cause the cookies to brown more on the bottom but spread less. My new sheet pans cause the cookies to brown less and spread a little more.